Photoshop comp exercise 2
- Cade-Mason
- Oct 3, 2020
- 4 min read
To further practice and learn composition techniques and tools, Leigh provided us with another photoshop composition exercise.
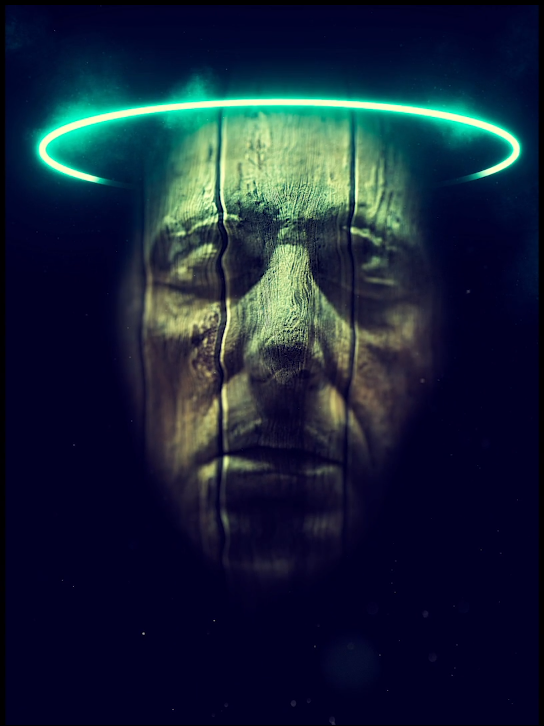
For the second composition practice, this is the final image for the composition and I had to work my way through in order to create this composition image:

I will briefly go over the process based on how I created this composition and how it fits and blends in together.
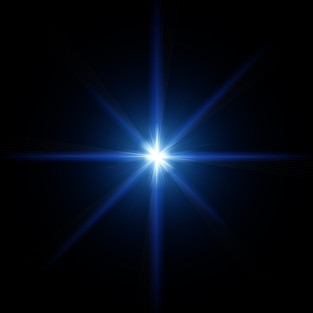
First thing I did was I gathered the images Leigh provided us in google classroom, here are the images we used:


I opened up a new document in photoshop and added a 'new guide layout'. Rows: 5 and columns: 2. From there I added the image 'nucly-grunge-48' image.


For the 'SPACE' image layer, I added curves (by doing CTRL+M), for this curve I made sure the 'SPACE' layer was dark enough to look like space but to keep small bits of detail to retain the image of space. Furthermore, I created a 'PAINT' layer and filled in the majority of spots with a 'soft round' brush. I added a 'gradient map' under the image adjustment option (bottom right with a ying-yang look-alike symbol.) If you have the wrong colour of choice to use for your gradient maps I would advise looking at the colour icon on the left-hand side of the icon.


In the gradient editor, I used a different colour from the white area and this would be a turquoise colour and for the dark end, I added another point in the gradient for the navy blue area.


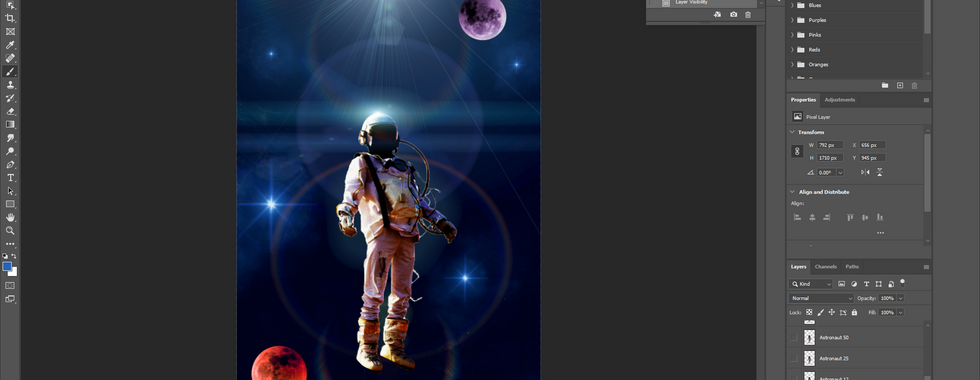
Next thing I did was the astronaut floating image. When I opened the image I selected the edges around the astronaut with the object selection tool. Feathering out the edges, I played around with the transparency in order to see the missing parts of the astronaut area. Those missing parts would be the pipes and wires, missing portions of the legs. I did 'select and mask' around the entire portion of the astronaut and added a quick mask. The quick mask is an efficient way of knowing what you selected and anything that is unselected still remain in the original image. Once I masked everything I needed, I used an elliptical marquee tool which I placed on the astronaut's head.


I placed the astronaut inside the composition.


Afterwards, I worked on the moon image which will be placed inside the composition eventually.
I placed an elliptical marquee tool for the moon, I needed about the entirety of the moon to be placed inside the composition so I grew the size by doing the transform. Once that was done, I added the moon inside. I clicked on 'ok' for paste profile mismatch


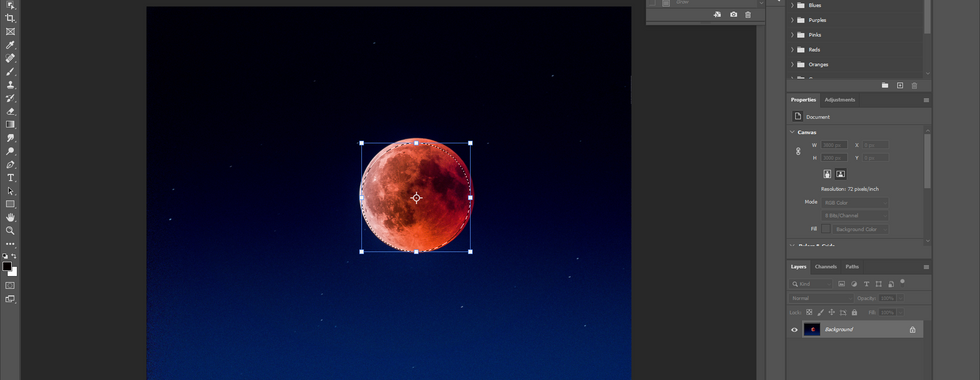


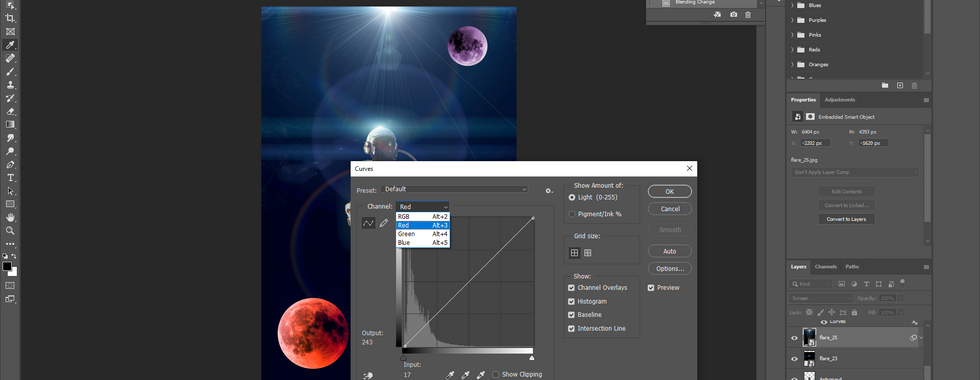
I placed the moon inside the comp and duplicated the moon to the top right of the composition. For the duplicated moon, I used hue/saturation I needed a purple colour for the moon. Once that was done I added a new image I went to file > place embedded. The image I opened is 'flare_23' and 'flare_25'.


I transformed the scales for the images to place them to where the flare light would be facing. The flare faces down. Next thing I did was I used curves for the 'flare_25' layer. I changed the channels of curves for that layer. Once that was done I added 'flare_46' into the composition, place the image and renamed 'flare_46 to 'star'. Further in the composition, I added 'flare_50' and changed the blending node to 'screen' and converted the layer into a smart object. Back to the moon, I did a rotation (from the bottom left area). Then came back to 'flare_50' and masked out the layer


Having re-organised the layers into their perspective places, I renamed one of my flares to 'helmet flare'. I duplicated a few stars to scatter across the composition and I imported a set of brush tools. The brush series is called 'Nucly Compositing Brushes'. I selected 'advanced smoke 01' brush and created a layer, this layer would be used to create the gas for the stars. I made a duplicate for the astronaut and rasterised the layer. For the duplications, I did CTRL+J about 8 times because for the gaussian blur to go into effect, I started at 200 than halve the amount of numbers till I get all the way down to 0.
In the 'astronaut 200' layer I opened up the curves settings for it and I created two new axis points for the table and gave them the output and input settings. Then I changed the opacity settings for the gaussian blur layers (astronaut 200-0). Now at first, I was weirded out by how blurry it looked compared to the tutorial video until I realised I had to merge the astronaut 200-6 layers and changed the hue/saturation settings for the composition


Once the hue/saturation values were placed in I added a new image in the composition I did file > place embedded and stretched out the 'nucly-grunge-18' image to cover the entire composition the reason why I did this is that I wanted to give this composition a worn-out poster type of presentation. For nucly grunge layer, I did image > adjustments > black and white. Once the values were added I changed the layer blending node to 'soft light' and changed the opacity. Afterward I added curves and went into the 'red' channel and added axis points. Furthermore, I also did this for 'blue' and 'green' layers


And that is how I created my second composition from photoshop. Overall, we used the same tools for the previous composition and I prefer this composition over the first composition. There isn't much else to say about this but these composition practices will help me out when I start getting around to creating the poster for the 'Tower That Never Was".


Comments