3D asset series: - The Tower That Never Was - The Revolver part 2 - UV and Cleanup Process
- Cade-Mason
- Feb 20, 2021
- 1 min read
Updated: Apr 2, 2021
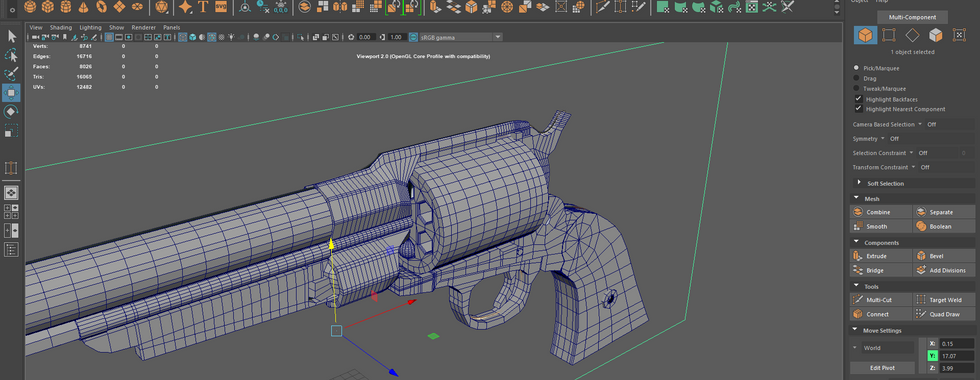
Continuing from where I left off, I will go over the finishing touches and then later on in the blog will cover the UV and cleanup process of my revolver. Furthermore, I needed to make adjustments and improvements to the revolver itself. My teacher, Sam gave me a feedback for quick feedback as a youtube video on what needed to be done: 1st video: https://www.youtube.com/watch?v=n3U8k6cNxmg&feature=youtu.be 2nd video: https://www.youtube.com/watch?v=L1WuTuFI-eE&feature=youtu.be Here is the process:


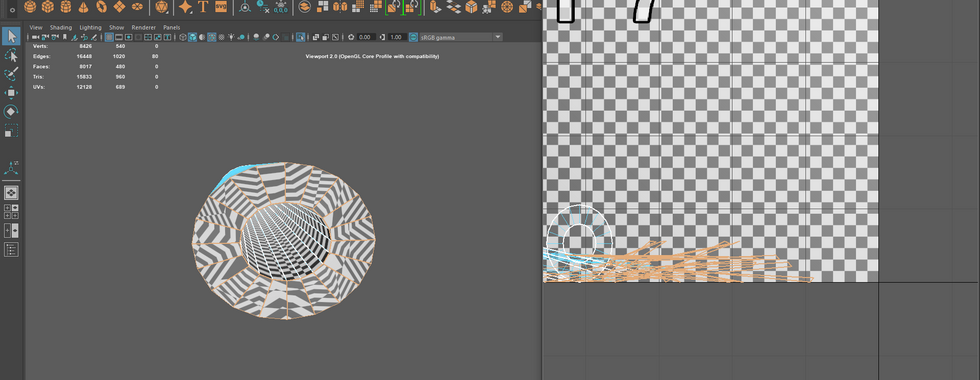
For the UV process I created automatics to make it look clear and it saves time with the UVs.


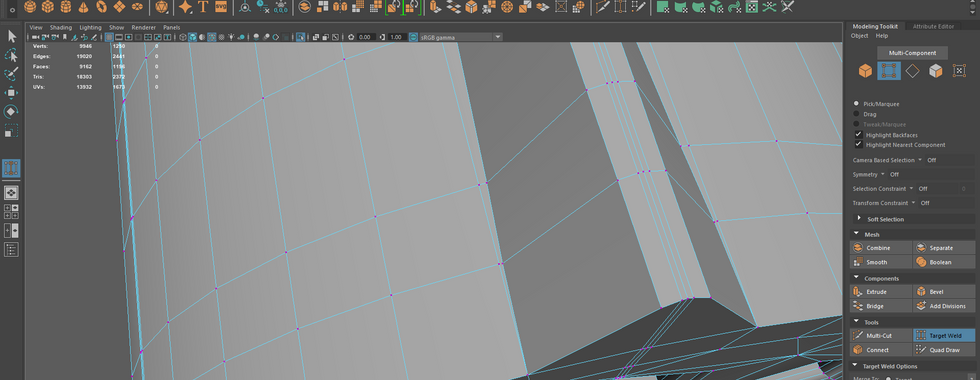


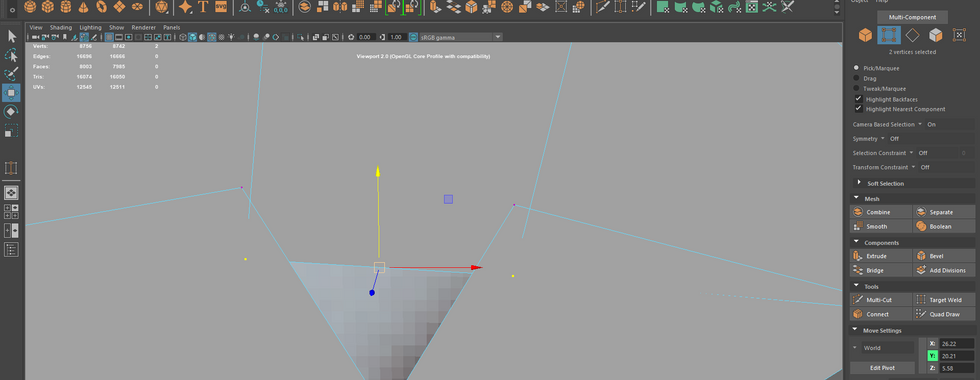


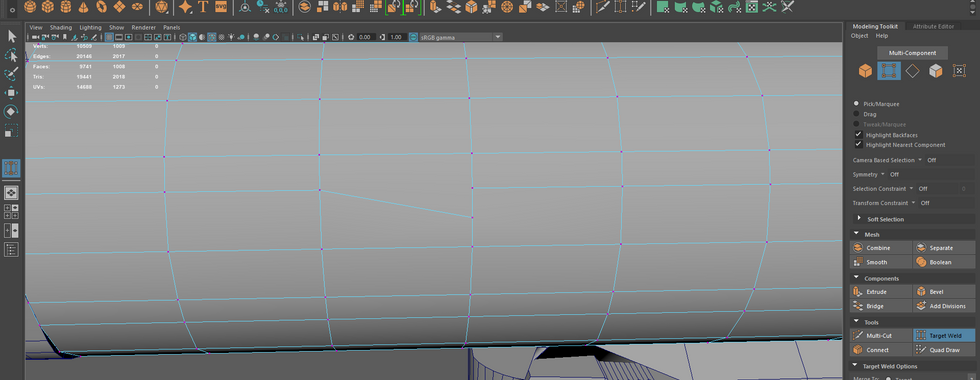
You will notice that these lines arent straight and needed to be amended I selected vertices where lines weren't straight and from there, I scaled them to make them accurate although at times extra measures needed to be put in place if there more lines and vertices weren't adding up I would target weld the vertices together or I merge them to the centre instead.


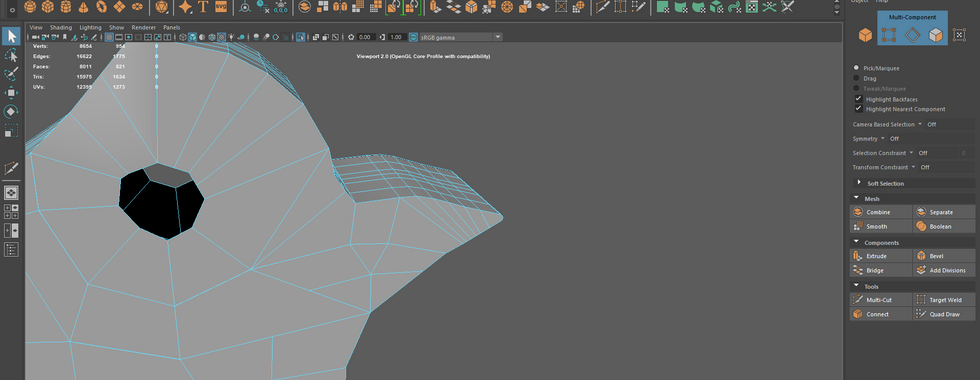


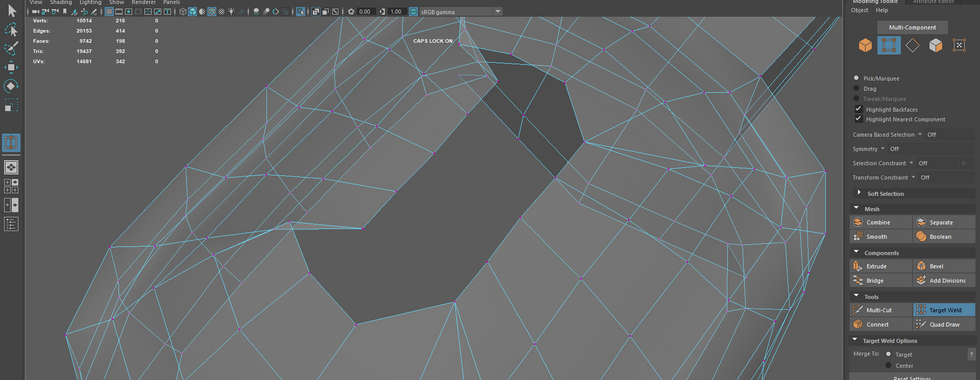
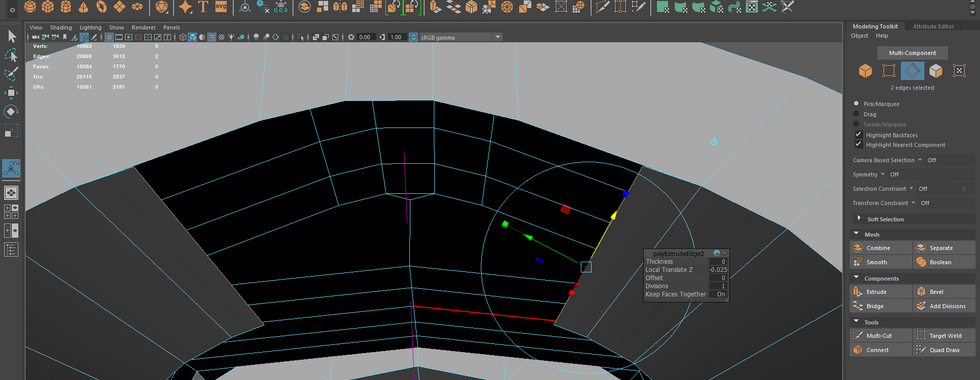
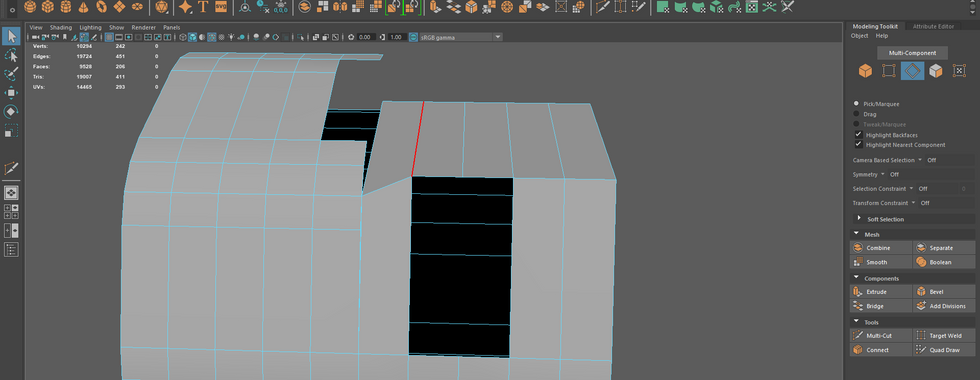
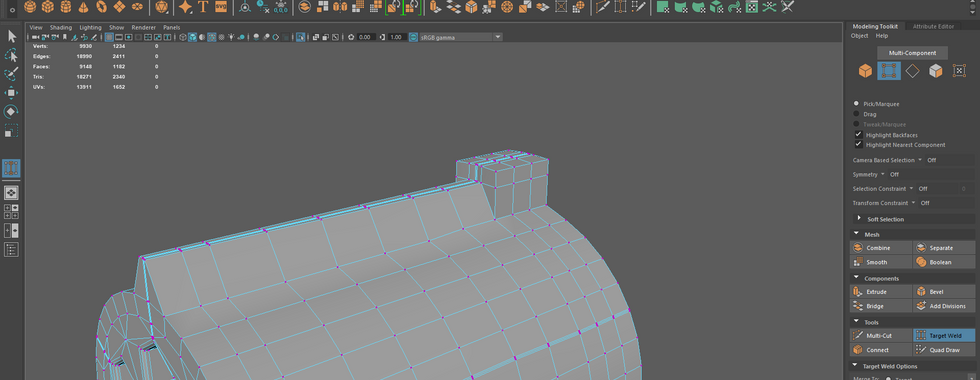
With the cleanup process, I was looking for faces with holes, more than 4 sides (vertices were a result of some of its issues) to cleanup. I used different solutions in order to clean up the model in the best and efficient ways possible.


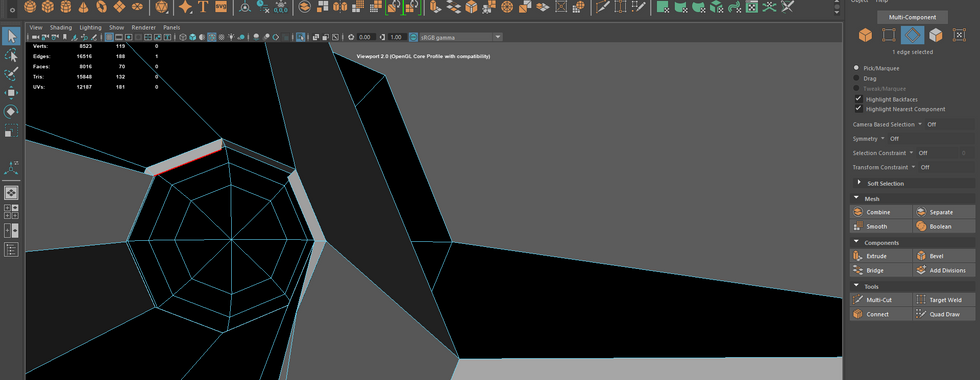


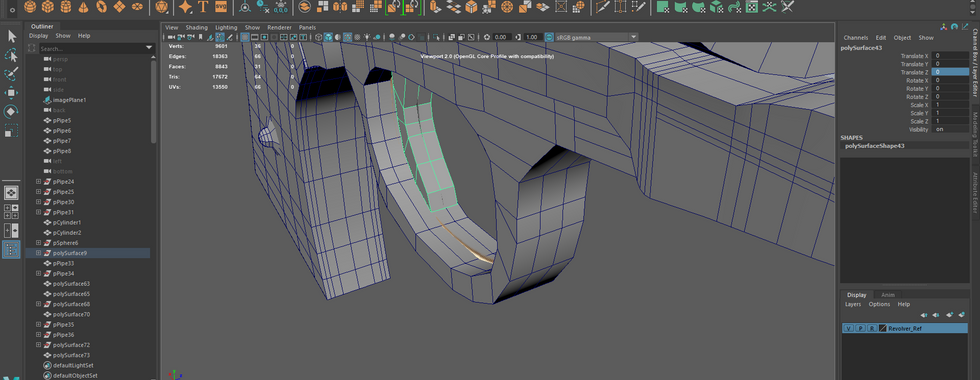
There were times I used the multi-cut tool to put things in place or straighten them out.


In the next part, I go over the UDIM workflow and other processes prior to the pipelines themselves. In the next part I will go over the UDIM workflow in this series, click the link below: https://cade-mason.wixsite.com/website-1/post/3d-asset-series-the-tower-that-never-was-the-revolver-part-3-udim-workflow


Comments