Tower of Hell - Creating the game prototype in Unity
- Cade-Mason
- May 25, 2021
- 8 min read
This blog entails a detailed process with plenty of screenshots for creating the game prototype - Tower of Hell. I made plenty of trial and errors when creating the game (especially when it came to coding and compiler errors)
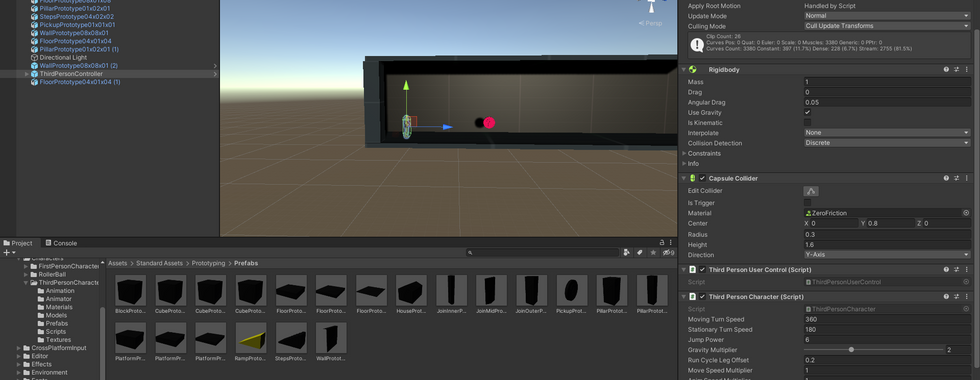
Because my game is a 2.5D side-scrolling platformer, I opened the scene as '3D'. Afterwards, I went into the Unity Asset Store and grabbed multiple assets. I downloaded and imported the assets onto the package manager. From there, I grabbed the 3D dummy as the player character. The reason why I used a 3D dummy character is that in the prototypes, they tend to have mannequins or dummies as the playable character in its early phase of game development.
Once the dummy (player character) was implemented I added the environment assets for the prototype level.
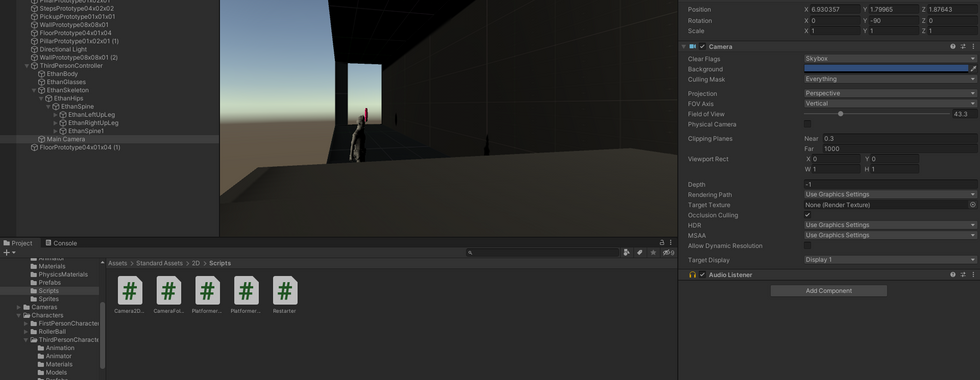
I added a player camera to the playable character. I did this by adding the main camera to the playable character in the inspector window.
The next part that I did is to add player controls for the character. I'll be honest, my coding/programming skills are non existent. I've done coding in previous college courses in the past but even then I'm barely able to grasp. And when I go back to coding when I havent done it in a couple of weeks it wipes off my memory. I've used c# and Python in the past and in Unity - Visual Studio has C#.
I always have to find video tutorials for game codes and help on compiler errors for coding.
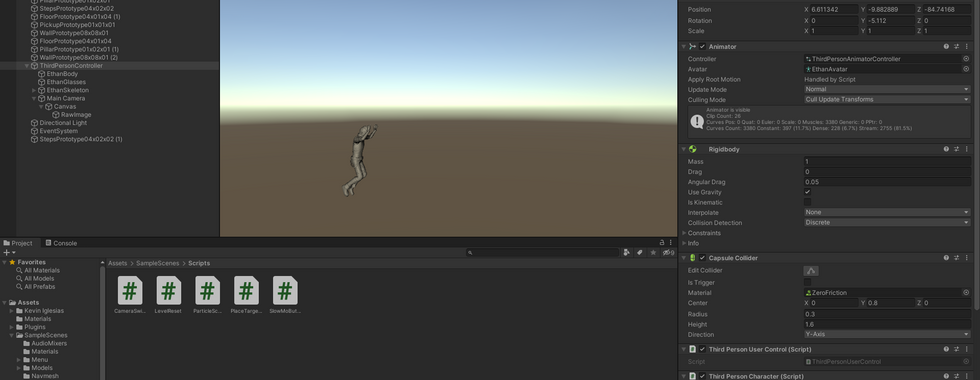
Coding aside, I added a 'rigidbody' and 'box collider' component in Unity. With this i was checking to see if these work to prevent the playable character from falling.
I went back into coding and added player controls to the character. This time I did
"controller.Move(horizontalMove);"


During the early phases, a lot of trial and error is put into place in the game. In my case, my character was falling, the movement was lacking, and lacked player controls. (there is a script for the character but I had not realized this after I had created my own script which I wasted my own time with but at the same time, I was also learning how to code.)
For the CameraController script, I typed up comments and script as I followed through a video (can't remember the video).
For the CharacterControlled2D script, I believe I downloaded this script on the brackets tutorial video. https://www.youtube.com/watch?v=dwcT-Dch0bA&ab_channel=Brackeys
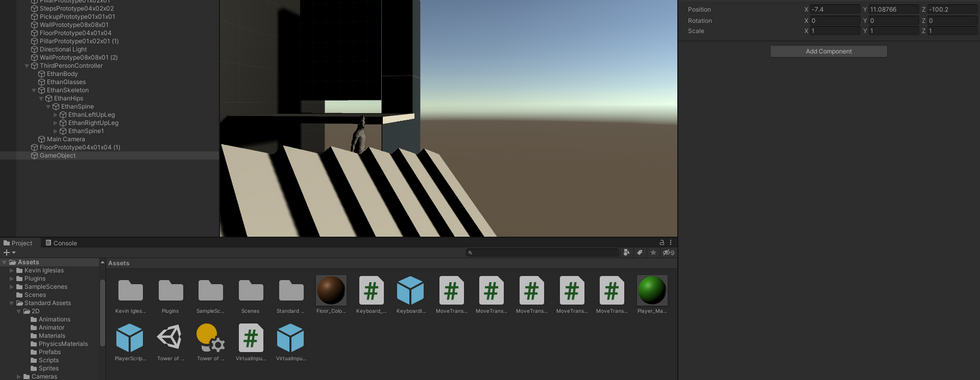
I had made the decision to copy and paste the level of the tower but throughout the game's development, I had made changes to the tower's level design. I wanted the tower's design to be a bit more complex, less repetitive, and to last the longevity of the game.
To get the character to progress through the floors of the tower a friend of mine, Toby suggested that a box collider was appropriate to get the character to climb up the stairs. We made the boxes to an appropriate scale in which the character could climb up. Furthermore, I changed the size of the player's box collider.


07/05/2021 - I logged onto my computer today and I found out that IT had reset the computers. Because I saved my game prototype onto the C:Drive, it erased everything. Unfortunately, I had tried looking for my Tower of Hell game prototype. Am feeling a little bummed out by this, however, I started on a new prototype instead except this time I will make the prototype that is quite manageable to make in the few weeks.
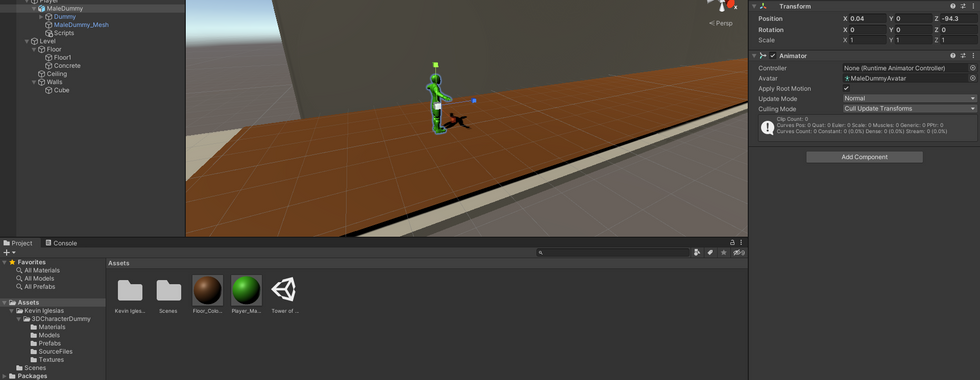
For this level, I want to make a large corridor level with few floors on top of it. I got the free dummy character from Unity once again however I was able to change the colours of the character.


11/05/2021 - Once again IT services wiped off the computers from my work desk. Unfortunately, I repeated the same mistake and didn't expect this to happen so soon. So I went ahead and created a new Unity project once again. I had also followed through a Unity 2.5D
From last week, Toby recommended me a video and I was following through it. https://www.youtube.com/watch?v=YggO1PgLb6M&ab_channel=Roundbeargames
As I was watching the video I literally did everything I could possible where I would replicate the entire code that was presented in the video for the "virtualinputmanager" and "keyboard_input" scripts. I was trying my best to figure out the compiler error issues. I made small progress with it but I was at a dead end. I talked to my teacher, Leigh to see if he could help me out with the coding error. I was slowly understanding to why the placements of curly brackets are important and why missing curly brackets actually matter.
I also set the scripts and players as prefabs by dragging them from the hierarchy.


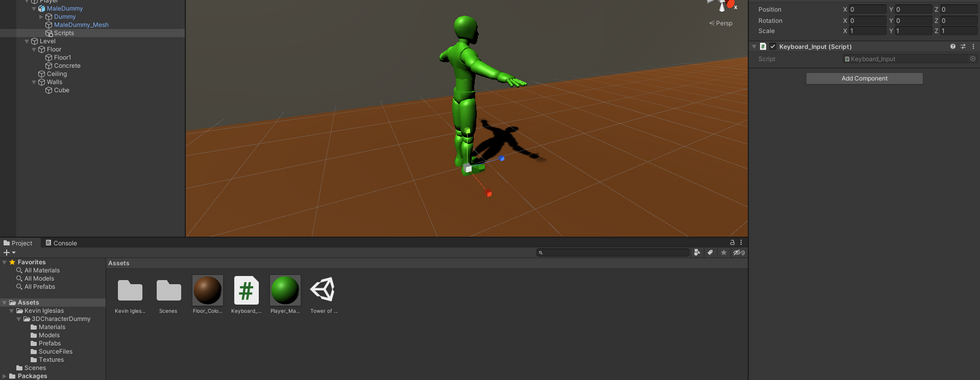


Because I tried to remain as faithful as I could when I watching the tutorial, I deleted my 'dummy' asset and then went onto the unity asset store and grabbed another free character asset instead.
For the "Testing_Cube" cs script, I added 'if' functions for instances for move right and left.
For the display, I tried implementing the main camera into the 'player' prefab. Unfortunately, that didn't work so I undid the function.


In the Unity Asset Store, I got the 'free standard assets pack' to get started with a much simpler way of creating my game prototype. According to Leigh, it's about the design of the game. How it looks and presents itself. If I were to code the entire game functions from scratch it would waste a bunch of time and I would end up being frustrated. This is what happened to me and I regret it but in the end, I will learn from these mistakes.
After implementing the player there were a couple of things that I wanted to do: - Player camera follow
- In-game background for the game's location setting
- Have enemies
- Make the player climb sets of stairs in order to progress their way through the tower.
I started working on another player controller script instead for my cube asset. For the player controls, I wanted the camera to follow the player like they do with platformer games as it is a core essential to platformer games themselves.
One other thing I wanted to add was to add a background image of Scotland in the game itself as that is the location of the game's setting.


I had been following through the video tutorial up to the 'rotation' chapter on the video itself. The reason why I stopped was that when I was attempting at doing rotations I used the 'Q' and 'A' keys and nothing happened whatsoever when I played the game. During this process, I also encountered some compiler bugs as I was trying to make changes. I was getting adjusted to how it works but as a novice, I still have a long way to go for coding/programming.
I had some assistance from my teacher, Leigh. He helped me with the coding however after that he gave me advice, to make the game simpler by having prefabs (objects with scripts, components, and (optionally) movements. With this in mind, I used the Unity Asset Store, I got the 'free standard assets pack' to get started with a much simpler way of creating my game prototype. According to Leigh, it's about the design of the game. How it looks and presents itself. If I were to code the entire game functions from scratch it would waste a bunch of time and I would end up being frustrated. This is what happened to me and I regret it but in the end, I will learn from these mistakes.
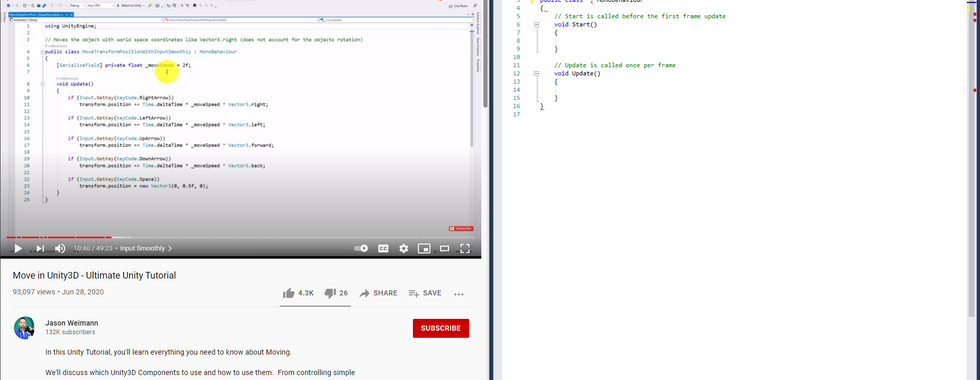
As I was watching the video these were the scripts that I had worked on: MoveTransformPositionWithInput script

MoveTransformPositionWithInputLimitMovementCleaned script

MoveTransformPositionWithInputSmoothlyAndRotation script

MoveTransformPositionWithInputLimitMovement script

MoveTransformPositionWithInputSmoothly script

Those were the previous scripts that I had worked on.
After downloading the asset pack I brought the player into the scene. After implementing the player there were a couple of things that I wanted to do: - Player camera follow
- In-game background for the game's location setting
- Have enemies
- Make the player climb sets of stairs in order to progress their way through the tower.
I started working on another player controller script instead for my cube asset. For the player controls, I wanted the camera to follow the player like they do with platformer games as it is a core essential to platformer games themselves.
One other thing I wanted to add was to add a background image of Scotland in the game itself as that is the location of the game's setting.
It was a weird process implementing the background image. I had to add the 'UI' element to the main camera and use a 'raw image' material. I put the Scotland background into the assets folder of the files.
During the trial and errors of sorting out player camera rotations. I told Leigh that there were 2-3 issues that I faced with the game prototype. 1. Scene background canvas appears in editing scene but doesn't appear in-game scene.
2. Player controls rotate the camera when pressing 'D' 'W' and 'S' on third-person perspective.
After 3 attempts of previewing the 'play' mode on the Unity console. Leigh experimented on fixing the player.
Problem 1's issue was solved by creating an empty child called "follow_player" and created a new component script called "Follow Player". From there he added codes that would function for the player character.
Follow Player script:

After creating the script Leigh played through the Unity game console and changed the 'transform rotation' component value to -90 and inside the following player script component, he changed the offsets of X = 6.5 and Y = 1.4.
Problem 2's issue was solved by creating an empty child called "Plane" and Leigh created a "plane" shape. He attached the "Scotland" material onto the "Plane" object itself. The materials shader changed to "Unlit/Texture". The plane acts as the background of the game.
Leigh did adjustments to the background scaled size in order to prevent any other backgrounds being exposed. Furthermore, the "Plane" child was put under the "follow_player" child. The background would go on to follow the camera.


I decided to save my old version of the prototype up and create a new version of the prototype. The reason I did this is that I wanted the new version to expose what the average level would like when creating the game and I needed one for recording purposes.


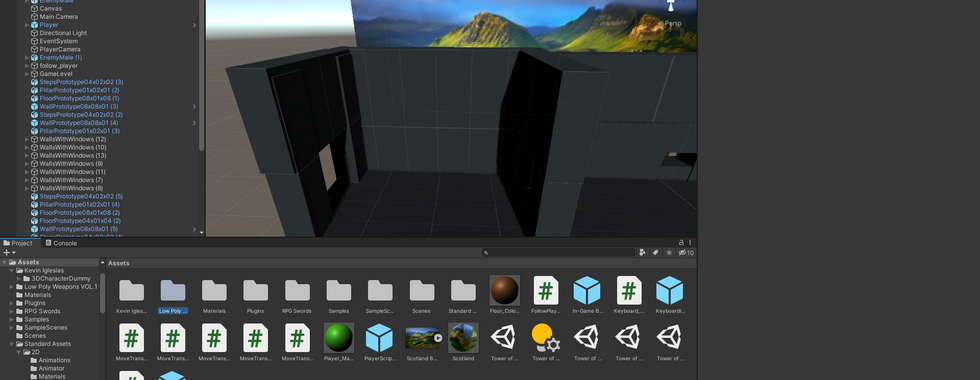


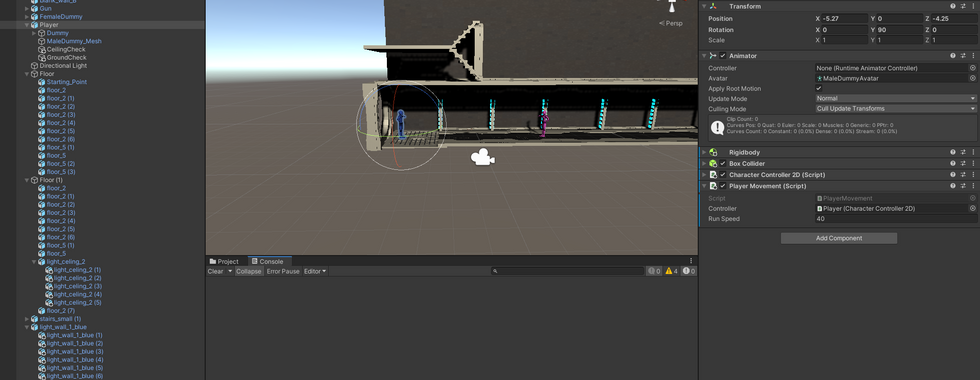
I added more floors to represent what the level would look like. I was setting this up in preparation for a video. I gave the 'light' components to the weapons and help to highlight what the player can use and the game needed to feel brighter. Therefore, the lights on the weapon and question mark icon assets indicate what the character can pick up and use. The question mark icons will have a window with words that help the player out.
Overall, I experienced plenty of trial and error, experimented with what works and what didn't work, fixing compiler errors. I had fun working on the game prototype for the game design project. I am considering going ahead and make this into a full game someday but the development will require years of development and budget assuming I'm going solo on game development. Whilst I like to think and see that game development is my passion, I need to invest more time and effort into the Tower of Hell game.
The next stage to building this prototype is to make the levels entirely functional and provide 3 different levels. One normal stage, one boss stage, and one puzzle stage.
And that concludes this blog!
Comments