Simple Tunnel Game in Unreal Engine 4
- Cade-Mason
- Feb 17, 2022
- 8 min read
In this blog I talk about the process of how I created a Simple Tunnel game in Unreal Engine 4. The first thing I had to do was download the simple tunnel game which can be found on this website: https://www.raywenderlich.com/454-how-to-create-a-simple-game-in-unreal-engine-4 I downloaded and unzipped the project and then opened up the project in Unreal Engine 4


In the "Blueprints" folder I opened up the "BP_Player" file.
From there I added a new function called "ForwardSpeed" and its variable type is called "Float" then compiled the blueprint and changed the default value of "Forward Speed" from 0 to 2000.0
In the event graph I added a "int float" from the "delta seconds" execution pin and got the "Forward Speed" function and then I added a new function called "AddActorWorldOffset". Inside the components of "AddActorWorldOffset" I split the structure pin of "Delta Location". To do this I right clicked on "Delta Location" and split struct pin. The X Axis was needed in order for this to work hence why I split the structure pin inside the component itself. Furthermore, I ticked the "Sweep" component.


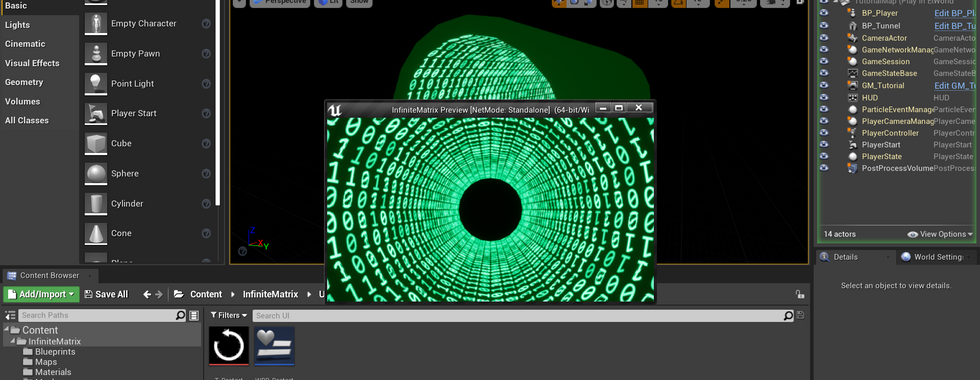
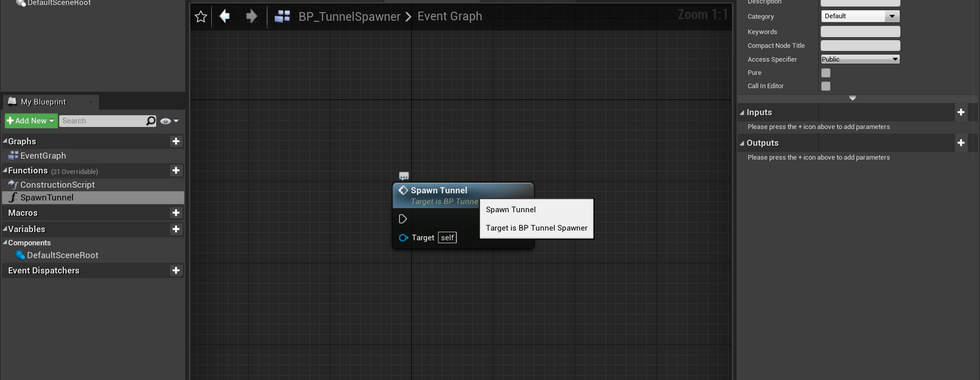
Back in the Unreal play window I played the game to see what would happen. After previewing the game I created another blueprint in the parental class as actor. Once the blueprint was opened I created a new function called "SpawnTunnel" then I went back to the "event graph" and added a "spawn tunnel" node. Inside the node I added two inputs and the first input is called "My input" and its variable type is float where as the second input called "SpawnLocation" and its variable type is Vector. I created a new node called "SpawnActor NONE" and changed the class component "BP_Tunnel". Inside the component I split the structure pin "Spawn Transform" and it split into the X, Y and Z axis which is found insde the "Spawn Tunnel function. Then inside the "event graph" I changed the spawn tunnel's "spawn location" component.


Inside the event graph for "BP_Tunnel" I used the "EventTick" node and created two new component called "TriggerZone" and "SpawnPoint" and compiled. Spawn Point sets the spawn for the player and in one area being the point. Trigger Zones triggers a point where the player has reached. This could be a checkpoint or a destination.
Going back into the play window I noticed there were 2 new boxes. On top of the tunnel is the spawn point and at the end of the tunnel is the trigger zone. Then back into the "BP_TunnelSpawner" blueprint (via the Spawn Tunnel) tab. I right clicked on the "SpawnActor BP Tunnel" node and changed the "return value" component to promote to variable. From the "return value" component's execution pin I added a node which is "Set Newest Tunnel". Which will set a new tunnel after reaching a certain point in the "BP_Tunnel" asset. The next thing I did was changing the newest tunnel's variable type. I created a new function called "Spawn Tunnel at Spawn Point". This is where the "endless" comes in. It will spawn a tunnel at the end of the last tunnel from the trigger zone making it endless. From the execution pin of the "Spawn Tunnel at Spawn Point" function I dragged it out and created a node called "Spawn Tunnel" then from there I dragged out the "spawn location" components pin and got the node "GetWorldLocation" and grabbed the "spawn point" node which links the target to Newest Tunnel. Afterward I created a new variable called "TunnelSpawner" (via the BP_Tunnel window) and changed the variable type to BP_Tunnel_Spawner as object reference. Going back to Spawn Tunnel tab (via BP_TunnelSpawner window) Inside the "set tunnel spawner" node I would get a self reference (aka get reference to self). The next step was to create a new event inside the event graph. The event node is called "Add OnComponentBeginOverlap (TriggerZone)". Inside the components I dragged out the execution pin and create a node called Cast To "BP_Player". Inside the new node components I linked the "object" component to the "other actor" component. That way it correlates with the actor and object. I created a new node called "Spawn Tunnel at Spawn Point" and got the "Tunnel Spawner" node. From there I dragged out the Spawn Tunnel at Spawn Points execution pin to get the "DestroyActor" node and then everything would be linked in the event graph.


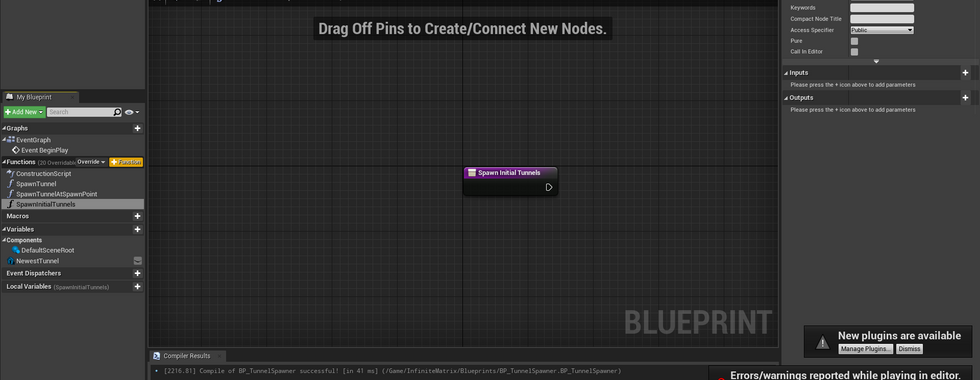
Inside the preview when playing the game, it would spawn new tunnels as the player had reached the finished destination. Back in the "BP_TunnelSpawner" window, I created a new function called "Spawn Initial Tunnels" this will spawn tunnels when the player has (initially) reached the destination (aka trigger zone). From there, I dragged out the execution pin for the function and created a node called "For Loop" the looping node will loop and create endless amounts of tunnels. Inside the components I changed the interger of last index from '0' to '2'. Then from the "Loop Body" component pin I dragged the pin out and created a node called "Is Valid" and inside the components for that node links exec (short for execution) with "loop body". Furthermore, I needed an input object for reference so I added the "Newest Tunnel" node and linked it to "input object" compnent. The other components are "is not valid" and "is valid". For "is not valid" I would drag out the execuition pin and get the "spawn tunnel" node. Back to the "event graph" tab I saw that "spawn initial tunnels" is linked to "Event BeginPlay". This helps link spawning the tunnels initially. Therefore I went back to the play window and noticed upon preview it would spawn the tunnels all the way to the end.


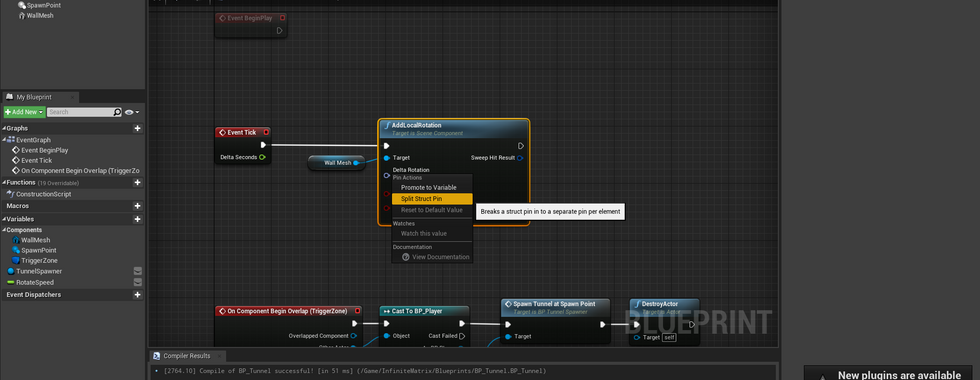
Back in the event graph tab (via BP_Tunnel) I created a new component for "static mesh" and for the "static mesh" I would change the settings from 'none' to 'SM_Hole_01' which came along side the downloaded project folder. I created a new variable called "RotateSpeed" and its variable type is float. With "Event Tick" node I linked the execution pin to a node called "AddLocalRotation" got rid of the "static mesh component" and split the structure pins for "delta rotation" and it would split into the X, Y and Z axis. I got the "Wall Mesh" node and linked it to the "Target" component pin (via AddLocalRotation.). The next step was to add a float integer I did this by adding the node: int * float node. Then linked the 3 components that came along with it to the two nodes and added a new node called "get rotate speed". Once that was done I compiled the event graph and went back to the play window and previewed how it would look. Upon previewing I saw that the static mesh was brought into play and it was rotating at 30 degree angles.


I went back to the "BP_Tunnel" window and created a new function called "Randomize Wall". This function would allows to spice things up and it would create a random numeral generator for our game which provides a challenge and a reaction from the player.
I dragged out the Randomise Wall's execution pin and created a new node called "Set Static Mesh"
Then I created a new node called "Select" and then I right clicked to "add option pin". I needed to have 4 pin options and there were only 3 options. I connected the "return value" and "new mesh" components together and then from there I created the "random integer in range" node and connected the "return value" and "index" components together. I also changed the integer values inside the "max" component number from 0 to 3. This correlates to the options given to the random numeral generator for the hole meshes.
Afterwards I created a new node (after set static mesh component) called "AddLocalRotation" and added a "get wall mesh" and from there I split struct pin inside delta rotation (via the AddLocalRotation node.). For the "delta rotation X (Roll)" component I dragged out the execution pin and added a node called "Random Float in Range" and inside the component I linked the "return value" component to the "delta rotation X (Roll)" and changed the "max" variable from "0" to "360" the reason for this is that the game can rotate at 360 angle.
I went back into the "BP_Tunnel" blueprint, and used the "On Component Hit" (WallMesh) node. This node will detect hits and collision for the player in when they an object. This is where we build the other nodes to get the component hit we need. Inside the component for "Other Actor" I linked it with "Object" (via Cast To BP_Player) and the "Cast To BP_Player" execution pin.


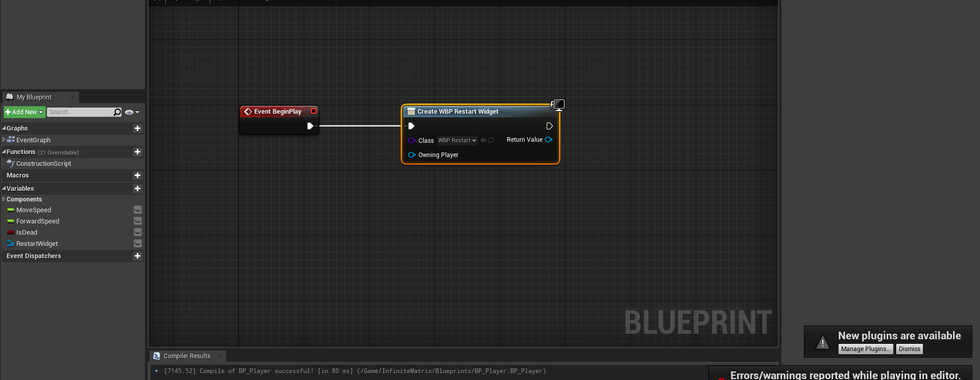
Back into the play window I previewed to see if my player was able to hit the objects and it worked. After playing the game I had to go back into the blueprints. Inside the "BP_Tunnel" blueprint I created the following component nodes: "On Compontnent Hit (Wallmesh) > Cast to BP_Player > Set "Is Dead". For these nodes I connected the "Other Actor" (On Compontnent Hit (Wallmesh)) component pin to "Object" (Cast to BP_Player). Then from the 2nd node, I used the "As BP Player" pin to connect to the "Target" pin (Inside the set "Is Dead".). I create a "RestartWidget" variable and changed its variable "WBP Restart" and the object type to "Object Reference". The next part was to create a widget as part of game's user interface. That being the restart widget. Inside the BP_Player event graph I created a node called "Create WBP Restart Widget". Then in the "Display Restart" function I create the following components: Add to viewport > get restart widget > get player controller > set input mode UI only > set is dead. Inside the "BP_Tunnel" event graph I added a "display restart" node which displays the restart widget.


When playing the game, ifyou do touch the walls you will get a "restart" icon. This would go on to result as a game over and resets your scores. Inside the "BP_Player" blueprint, I was in the "restart game" function graph. From there, I added the following nodes in a specific order: Restart Game > Set Is Dead > Restart Widget > Remove from Parent > Get Player Controller > Set Input Mode Game Only > Set Show Mouse Cursor. The Mouse Cursor makes it easier to tell where the player is hovering and where they need to click. Inside the "BP_TunnelSpawner" blueprint, I went into the Spawn Initial Tunnel even graph and set the following nodes (in a specific order): 1. Sequence > For Loop > Is Valid (linked from Loop Body to Exec) = Newest Tunnel > Spawn Tunnel at Spawn Point (Is Valid) = Spawn Tunnel (Is Not Valid) The first sequence is where a loop occurs with the tunnel making it endless. Furthermore, the components linked with spawn tunnel are: Get Player Pawn > GetActorLocation 2. Get All Actors of Class > For Each Loop (Loop Body) > Destroy Actor. The second sequence is where the actor (BP Tunnel) is used as reference to spawn in more tunnels to make the looping endless. Inside the WBP_Restart file I had a restart icon. Then going into the event graph, I added a "OnClicked (RestartButton)" event node. Afterr ward I added the following node: Cast To BP_Player and Get Owning Pawn (Which links to object.) From Cast To BP_Player execution pin I added a Restart Game > Get All Actors of Class > Spawn Initial Tunnels and Get Array nodes. The get array node is inbetween Get All Actors of Class (from Get Actors exeuction pin) and Spawn Initial Tunnels (Target component) nodes. Upon playing the game I noticed that the restart button appears and I managed to get it working.


Overall I will be using the components and blueprints for my game.
Comments