Blueprints and exercises: 4. UE4 Gameplay Framework Classes
- Cade-Mason
- Dec 7, 2021
- 2 min read
In this blueprint series, In this blueprint series, I will be going over the process on exercise 4.
Let's begin.
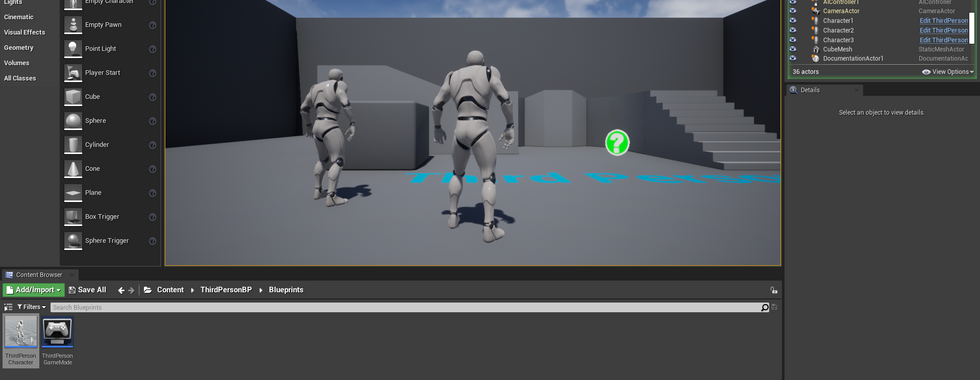
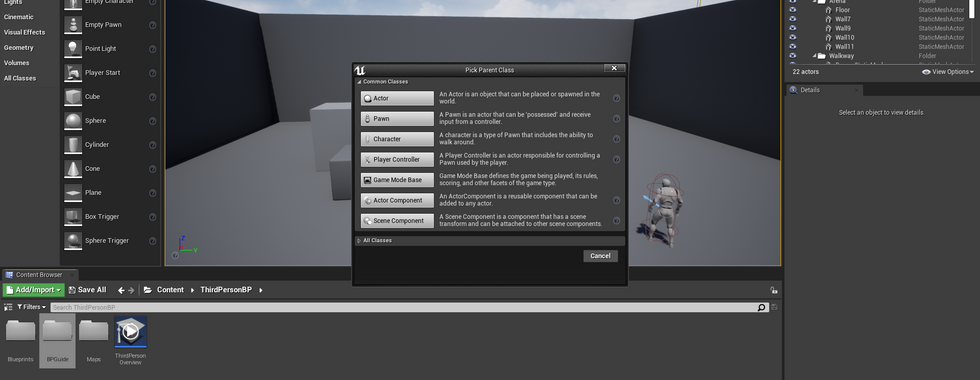
For the first exercise, I created a blueprint class for a third person character. In which you play as a character in third person mode. Afterwards, I renamed the ThirdPersonCharacter instances to "Characters 1-3" for each numbered character. For the first character, I created a reference for Character1 inside the event graph. I repeated this step for characters 2 and 3.
In the event graph, I created the keyboard events for the '1', '2', and '3' keys. Afterward, I added the "Get Player Controller" function to the event graph which is used to target the "possess" function. The '1-3' keys output pins are used for the "Posses" string. Characters 1-3 would be used for "In Pawn" inputs in "Possess" string.
For exercise 2, I added HUD elements for the game. The HUD element are vital to a video game as you will need to know your health bar and energies inside of a an Arcade game or a shooting game. One of the Blueprint classes I created was a HUD blueprint and renamed it to "BP_HUD_Timer".
Inside the event graph, I added an "event receive draw HUD" function and then a BuildString (Integer). From the event receive draw HUD execution pin, I added a "Draw Text" function which links to BuildString inside the In Int component I would link the "get time" function to the pin.
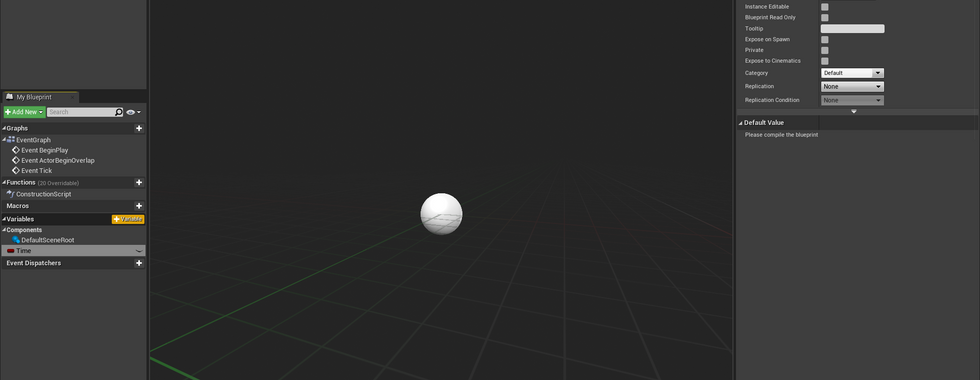
Afterward I added a "CustomEvent" function (renamed as Count) which seperates from the others. From the CustomEvent execution pin I added a "Set Timer by Event". Inside the function the "event" component is linked to Count. From the Count Execution pin I added a "Set Time" function. From the "Set Time" function I added an integer to add time and add a "Get Time" function after. Then I added an "Event BeginPlay" function.
I added another Blueprint class and renamed it to "BP_GameMode_HUD". In the "details" panel I changed the "replay spectator player controller" class to "PlayerController", "spectator class" to "SpectatorPawn".
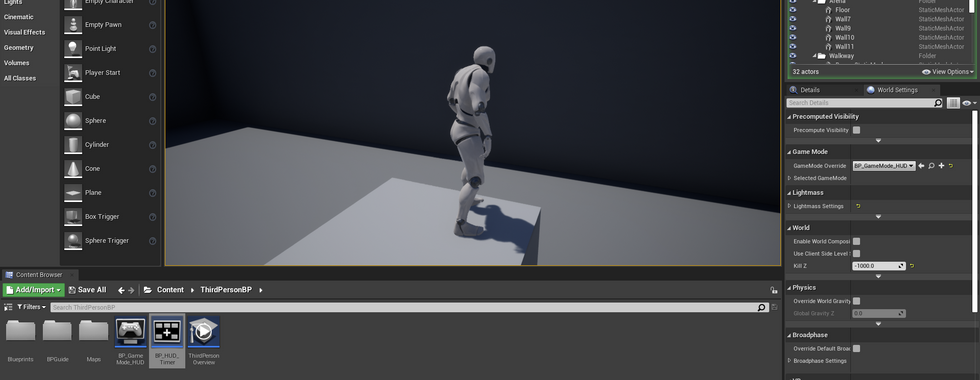
Back to the ThirdPersonExampleMap I went into Game Specfic Settings > Material Quality Level and selected the 'high' option. Then in Game Mode I set the Game Mode Override to "BP_GameMode_HUD".
Back inside the "BP_HUD_Timer" blueprint event graph I adjusted the time from '0' to '10.0' and then to '1.0' from there I would go back to test out the time itself. Between the "get time" and "set time" functions execution pins I added a "+ float integer".
For the next part of blueprint exercises I talk about simple game examples in Unreal Engine.


Comments