Blueprints and exercise: 5. Simple Game Example
- Cade-Mason
- Dec 17, 2021
- 4 min read
In this blueprint series, I will be going over the process on exercise 5.
Before we begin this blog I somehow muddled up one of blueprint 4's exercises into exercise 5's blog so we'll go over that as well.
Let's begin:
Before going into the exercises I created a new project and new blueprints needed for the exercises.
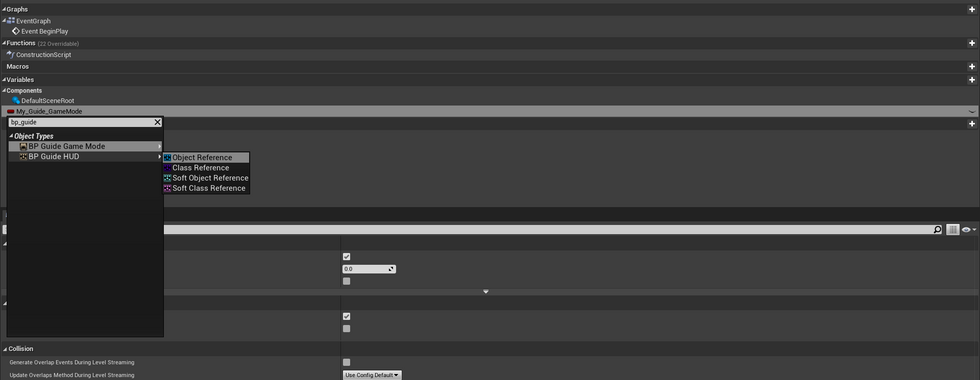
The first blueprint class I created is GameModeBase and renamed it to "BP_Guide_GameMode".
I added the following variables: Level, Score, StatueCount, Time and GameOver.
I created a function called "StartGame". The StartGame function I added the "Inputs" and "Outputs" node. I added in the variables inside the StartGame function graph. I set the score to '0', set level to '1', set StatueCount to '0' and set time to '30'. In video games, these are the default settings but the time score varies in each game the rest however is the same.
After the "Game Over" node I used the output execution pin, dragged out the key to create a node called "Set Timer by Function Name".
Back to the event graph, I used the "Event BeginPlay" node and dragged out the execution pin to create a "Start Game" node. Afterward, I created a "CustomEvent_0" node and dragged out the execution pin to create a "Start Game" node.
Once that was done, I created a new blueprint parent class for a "ThirdPersonCharacter" inside the viewport we can see that functions, components and variables are set up for the character however, that doesnt mean we should add more to the player character. I selected the Character1. Then repeated the previous steps for Character2 and Character3. Afterward, I went into the event graph and created keyboard events for "1", "2" and "3" which I needed to add the "Get Player Controller" function inside the even graph tab.
Next I added a keyboard event function called "Enter" then inside the "Enter" components I dragged the "pressed" component's execution pin to create an event called "Cast To BP_Guide_GameMode" then dragged out the "Cast To BP_Guide_GameMode" "As BP Guide Game Mode" component's execution pin to create a "Restart Game" event function which links to the "Target" component. Back to "Cast To BP_Guide_GameMode".
After that the next thing I did is to create a "GameModeBase" blueprint class. This Blueprint class' purpose are for clock events. I wont explain to much but I added integer floats, two custom events to start up the game then the clock would start right when the game starts. I would a branch to use the "true" component execution to link the "Set Game Over" which links after the "Clear Timer by Function Name" event function.
I created a function for "Statue_Collected" which as the name implies is to collect statues. But the statues collected can show at the end result of the level or whilst you are playing the game. Think of it as collecting gold coins from the Mario games s or collecting the blue bricks in Lego video games (which is a more accurate comparison).
Whilst reading the lecture I was required to create a new Unreal Engine project as a Third Person template. As I opened up the third person template, I created a new blueprint class as GameModeBase and changed the name to "BP_Guide_GameMode". For the blueprint I created a the following variables: "Level", "Score", "StatueCount", "Time" and "GameOver". Then created a Macros called "StartGame". Inside the "StartGame" I added an "Input" and "Outputs" event function. In between these functions I added the following set variables inside the macro:
Set "Level", "Score", "StatueCount" and "Time". After the "Set Time" function I would drag its execution pin out to get the "Set Game Over" event function.
Then inside the "BP_Guide_GameMode" event graph I created a new event function called "Event BeginPlay" then dragged out its execution pin to create a "Start Game" event function which is linked to the "In" component.
Afterward I copied and pasted the last event functions. That copied custom event is called "Restart Game".


After returning back from Nescot college, I sat down with Leigh and told him about my issue with the "BP_Statue" blueprint file and the statue not appearing in the play window. The "InitStatue" wasnt picking up nor were the statues appearing on the play console window. I can't recall how I resolved this issue but if you look at the images posted things should help. Once I solved the issue, I added a new component called "ParticleSystem". The particle function creates a particles of our object giving it a visual flair effect from the asset itself. In the details panel, in the template I searched for "P_Sparks" then once that was added I compiled the blueprint. Back to the "BP_Guide_GameMode" event graph blueprint. For the "Rank" variable its variable type is a "string". From the "Clear Timer by Function Name" node's execuition pin, I added a "Switch on Int" node


For the next exercise I will be going over Advanced Blueprint Concepts.
Comments