3D asset series: - The Tower That Never Was - The Door part 4 - render set ups and HDRIs
- Cade-Mason
- Mar 20, 2021
- 1 min read
In this blog, I go back to Autodesk Maya to implement the textures and ambient lights to add in the HDRIs ready to be rendered. In this process, I set up ambient light. In the attribute editor, I changed the light type from ambient light to skydome light. Afterwards I went onto a website called HDRI Haven and selected a HDRI for the scene. Afterwards, I implemented the HDRI into the aiSkyDomeLight via the color option. This light would be most appropriate to create a rendered shot for the shot.
The next thing I would do is open up the hypershade window. I went into windows > rendering editors > hypershade


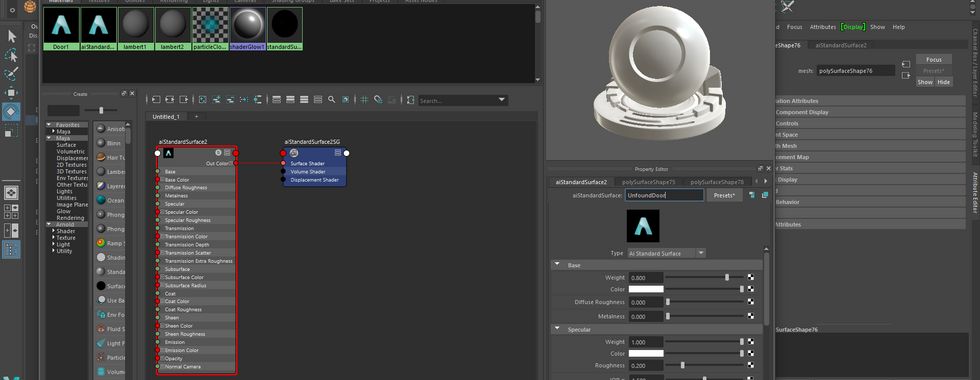


This hypershade window editor is a part of the HDR pipeline process for textures.
Here is a clear example of what the HDR pipeline looks like:
Once I set up the hypershade I went into the Arnold Renderer and did a few snapshots. Inside the Arnold Renderer window, there is a camera icon in which you can take the shots.
Here is the final VFX shot from my door asset:

These were my other snapshots in which I was testing out camera angles, rules of thirds and lighting:


Overall I am pleased with how this turned out. Originally, my plans were to implement this inside a game engine however, as time was running short and the workload started to get heavy I did what I thought was most convenient and that was by following through the tutorial videos themselves. I chose my own smart materials and am happy the way they turned out.

Comments