3D asset series: - The Tower That Never Was part 3 - A Door
- Cade-Mason
- Jan 26, 2021
- 2 min read
In this blog, I will be going over my progress on 3D modelling a Door.
"The Tower That Never Was" assets will be a 4 blog asset series based on the assets I have modelled. The 4 assets I am going to be modelling are: - The Revolver: (Insert URL here)
- The Lobostrocities: (Insert URL here)
- A Door: (Insert URL here)
- The 'Dark' Tower: (Insert URL here)
The door itself will play as an asset for a game engine or VFX shot.
Now let's get on with the process of the door.
The reference
When creating a 3D asset, it is always good to have a reference. Referencing helps create and strengthen the shapes of a model in itself.
From there I would gather images for reference. I signed up for a brand new account on Padlet and named the canvas - '3D Asset references canvas'. This canvas is ideal to gather and group all of your references and images together.
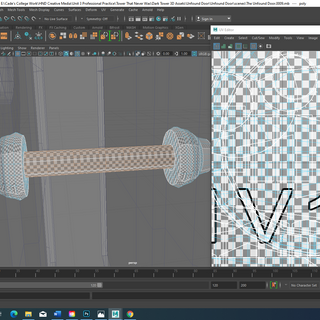
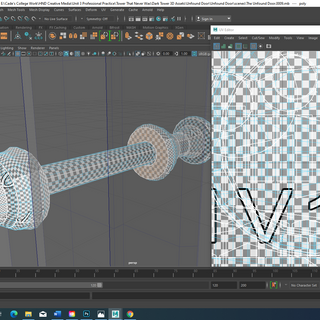
In one of Leigh's lessons, I practised creating a door in Maya and used a normal map texture in Photoshop.
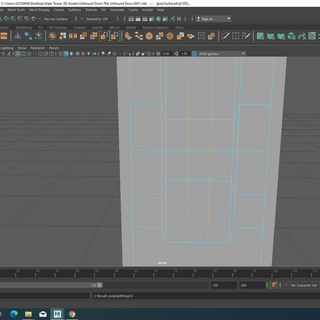
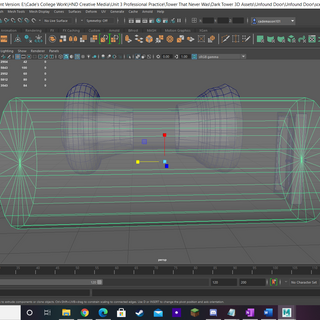
For the preference, I changed scaling from "centimetre" to a "meter"
I created a cube, then stretched the door to 2 meters, I added edge loops in the door. These edge loops create the door frames. Having deleted the irrelevant edge loops of the door, I tested around the door frame to see which what details would be simple and most fitting.


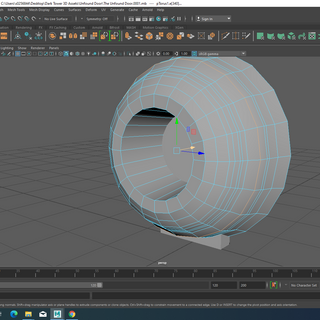


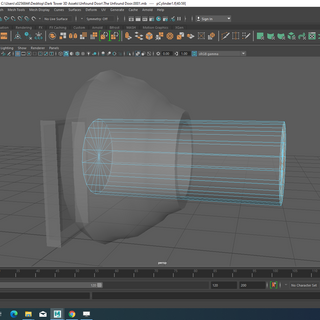


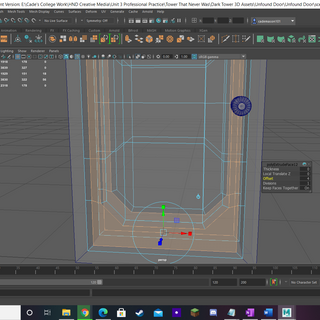


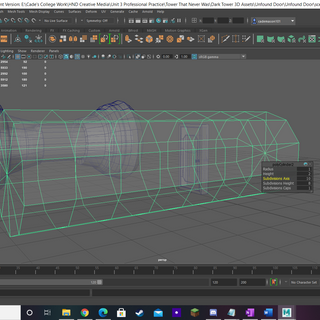


I asked Leigh for his opinion on the door I had created. The improvement I needed to improve the door was getting rid of the nGons on the door itself around the door frame areas.


Comments