Sculpting in ZBrush: Piranha Plant
- Cade-Mason
- Jan 7, 2022
- 3 min read
Following on from the concept arts and work. I opened up ZBrush and created a Piranha Plant sculpt.
My first object is a poly sphere. This poly sphere I would remove the insides to create the interior of the mouth and teeth. For the exterior I created the lips of the piranha plant.


I did plenty of adding, removing and smoothing out the geometry. Hence why in some images the geometry looks off but this was a work in progress.
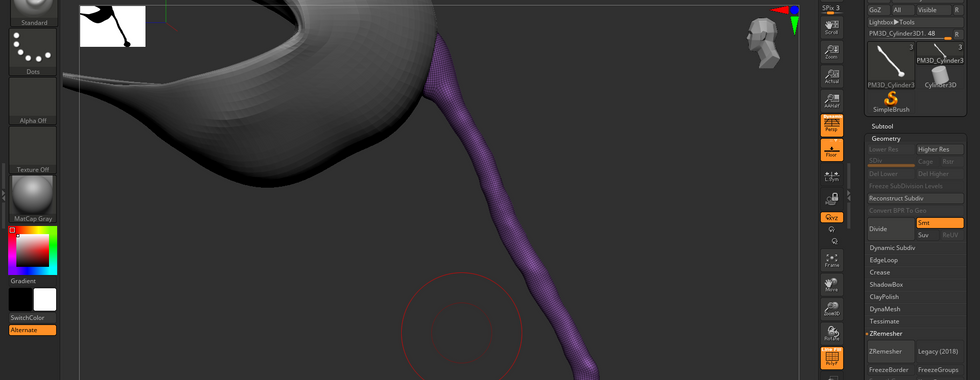
I remeshed the geometry a few times whilst sculpting the piranha plant sculpt model.


Once I was satisfied with how the piranha plant's head geomtery, I added a new sphere in order to create a tongue inside the geometry itself. From there, I created the tongue. I experienced trial and errors when creating the Piranha Plant's tongue geometry.


After creating the Piranha Plants head and tongue, I created the stem part for the piranha plant which links to all other body parts (arms, roots and head). For the stem I did remeshing, stretching out


Once I had done my piranha plant sculpting I exported my piranha plant as an OBJ to import into Autodesk Maya on my 3D scene.


Inside Autodesk Maya, I imported my Piranha Plant sculpt into the scene. From here I wanted to use the plant pot as reference for scale for my piranha plant. Inisde the scene I scaled up my piranha plant. However I wasn't satisfied with the results of how the piranha plant looked. It was rather small to my liking and I noticed there were roots sticking out of the plant pot itself. Therefore, I made adaptions to the piranha plant. I wasnt happy with the plant pot either so I wanted to make my own plant pot in a seperate scene and then I would export it.


Inside the new scene, I used a cylinder shape to create the plant pot. There were trial and error involved and I haven't modeled anything in a couple of months (piranha plant excluded). I did extrusions, edge loops, add subdivisions, smoothing out the geometry


Once I was satisfied with the plant pot, I imported over my piranha plant to use for size reference and to see if it sat well with the plant pot itself. I had tried to export and import the plant pot to ZBrush but I had imported it inside the subtool settings and the subtool made the plant pot look like a form of paint.


I resolved the issue by going into my "subtools" and improted my plant pot (which is a .OBJ file) into ZBrush. From there, I wanted the root part of the piranha plant to go in deep but I wanted it to look big enough so it looked intimidating.
Then I would go on ahead and add a "sphere" shape to the geometry itself. That "sphere" would be used to be the "Mud" of the plant pot. It was advised I would use the "sphere" over the "cylinder" as the geometry results were better from my teacher, Sam. I would play around with the mud by using "standard" "smooth" "flatten" brushes. The reason I was doing this is to replicate the mud you see in plant pots. They're not always flat.


Further progress on the mud, I also tried doing the same with this "sphere" shape but that didnt bode well. Sadly.


I would've went onto to do some UV unwrapping and using the "ZRemesher" but I was held back in my case. After looking at the mouth, a portion of the tongue hanged outside of the chin and that bothered me. Therefore, I had a setback with my Piranha Plant and went back to my old versions of the sculpt to find the unmerged piranha plant. During this process, I went and made adjustments and adaptions for the piranha plant.


Certain parts of the sculpt needed adjustments to them such as the tongue and spine.


I used the ZRemesherGuide brush to remesh certain areas of the pirnanha plant sculpt particularly the mouth part. In the video it had showed that after this process was to UV Wrap however I was still in the process of adjusting the UVs at the time.


Once that was done I merged up all parts of the sculpt and then I added my "Plant Pot" geometry into the project. What I had to do was "import" the geometry as a "Tool".


After making amendments with the piranha plant, I was satisfied with how my piranha plant turned out.
In the next step I will be implementing my piranha plant asset in Maya and then texture the model itself.

Comments