Piranha Plant VFX scene in Maya - Sculpt and UV maps
- Cade-Mason
- Feb 14, 2022
- 2 min read
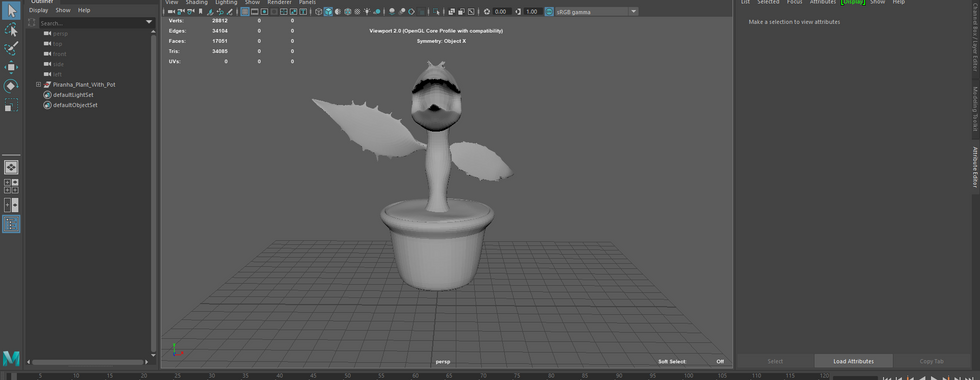
In this blog I go over the next process of the Piranha Plant VFX. The last phase was sculpting the piranha plant and importing the file over into Autodesk Maya. I opened Autodesk Maya and loaded up my "Greenhouse of Terror" project. Upon inspecting my piranha plant I had noticed that it was an older version of the sculpt and there was no plant pot attached to it. Then I opened up my "piranha plant with plant pot" and exported out my files as an FBX file. Then went back to the "Greenhouse of Terror" project and imported my "piranha plant with plant pot" file onto the project. Because the pivot was off the piranha plant I went into "Modify > Center Point". I played around with the scaling to see what I was best suited and realistic for the piranha plant.
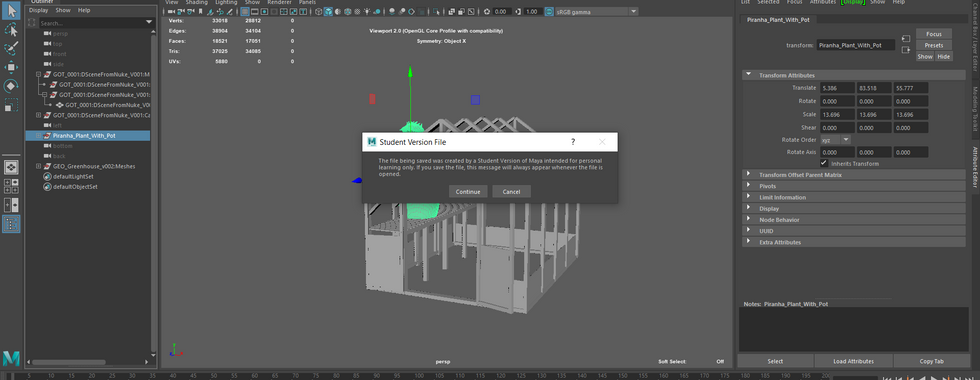
The next step was to add the greenhouse GEO. After implementing the greenhouse geometry I placed the Piranha Plant and table onto the greenhouse geometry. After noticing how big and ridicolous the piranha plant was I scaled down the piranha plant to meet a realsitic standard and turned around the piranha plant to a good angle.
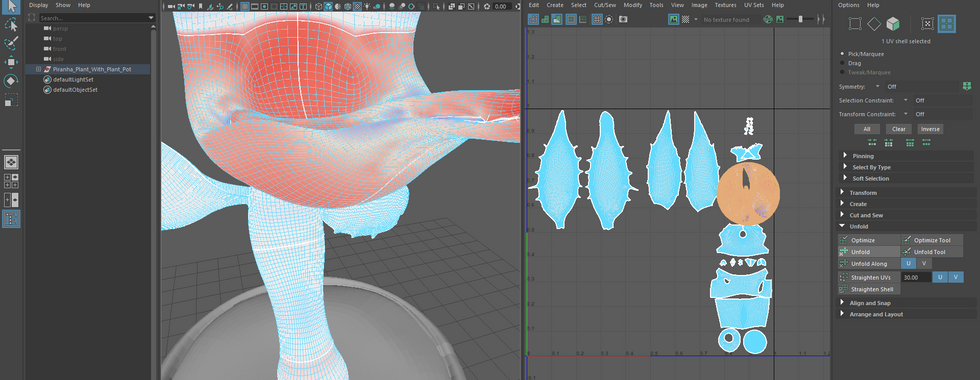
UV MAPS What I needed to do next was to create UV maps and sort them out by cutting, sewing and unfolding UVs
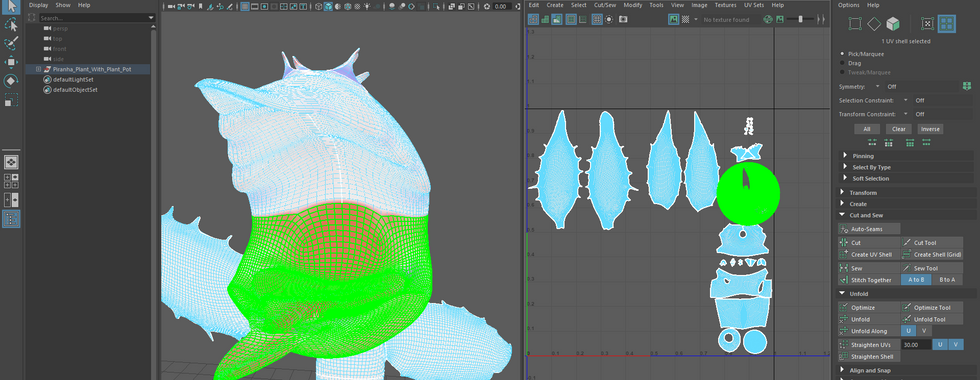
Here is my process of me creating and sorting out UV maps:
I had two separate UV maps one for plant and the other for plant pot.
After I felt satisfied with my UV maps I showed them to Sam to get a second opinion. There was still things that had yet to be done. When using the distortion map I checked to see if there were any red or blues. The reason for this is that if those two colours occur on the UV maps then they are distorted and need to be fixed.
The advice Sam gave me was to sort out the mouth, cut the back of the stem and do a cut on the root where its not visible. I cut inside the mud where the rest of the root is.
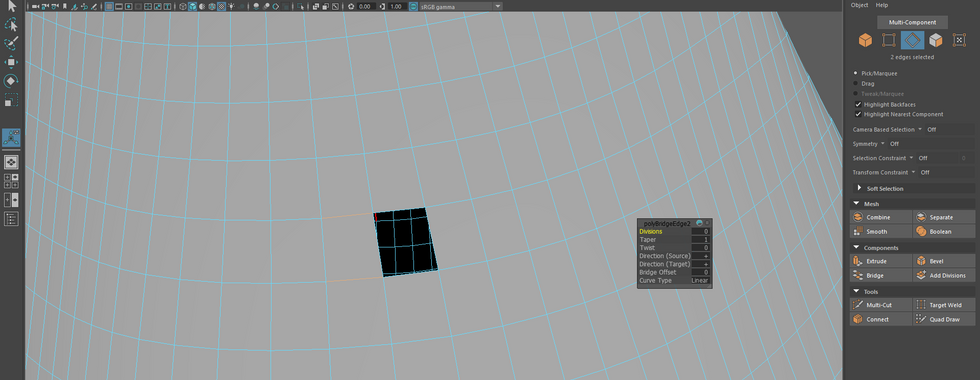
Afterward I cutted the back of the stem where it wouldnt be visible in the shot.
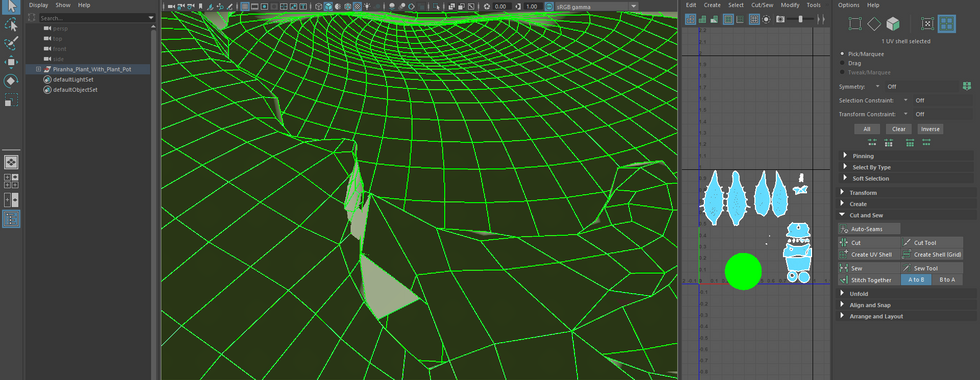
Then the trickiest part came into play - the mouth. Due to some portions of the tongue being stuck together from the mouth I had to be careful of where I was going to cut. The worst was the bottom portion of the mouth where I cut in-between the top and bottom halves.
In the end, Sam had to help me out and did the work for me with my piranha plant sculpt. Sam told me that he had to go back a step by going back into ZBrush and remesh by seperating portions of the mouth that were stuck onto the mouth. Once I was given back my piranha plant Maya file, my next step of the pipeline process is texturing my piranha plant asset.














Comments