Star Wars X Wing part 3: Texturing
- Cade.M
- Feb 6, 2019
- 3 min read

Updated: Sep 6, 2019
On 15/1/19, Sam has requested us to do our texturing for the X Wing on Substance Painter. We had to make sure the UV maps were very clear and overlapped. Once the UV map was done we had to export it by doing file > export selection > general options > fbx Export. I saved it in an appropriate place to make sure I could find the file in Subtance Painter and start from there.
Then on the 16/1/19, I decided to go to a workshop session in the Games/Workshop study hub at Nescot College. Because of this I wanted to focus on my UV mapping for the model, downloaded the textures (although downloaded more later on) and place them onto my USB for the next lesson. I went over Luca with what went wrong with my X Wing texture.

If you notice, some parts of the UV are like a mix of bronze and cream (don't know the exact color for the life me)
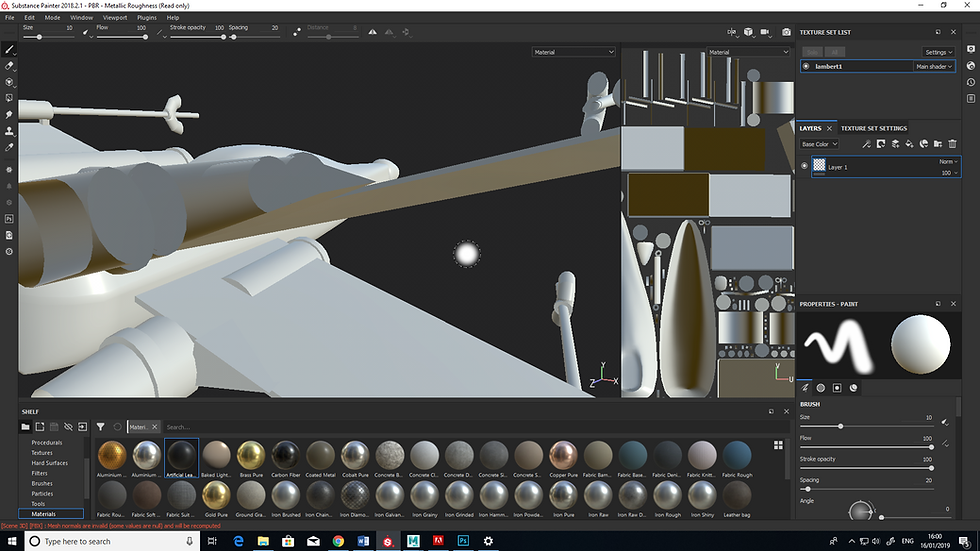
The issue with that was that I had to check my UV map on maya for reds. Anything that was red was non existent for the model texture. Whereas blue were valid textures for the model.
I encountered another problem when I was producing my UV map, the layout was too small and I scattered the parts of the X Wing all over the place. How it was solved was I had to go to UV Editing > Modify > Layout > Change Packing resolution. Changed it from 256 to 1024
After exporting my model to substance painter, I had to change the model again due to parts of the wing were misplaced so I had to go back to Maya and make a change for that. Once the changes were done, I had to go back to Substance Painter then from there, go to Edit > Project Configuration > File > Select.
On 29/1/19, Sam saw my problem when I tried free handing on the X Wing on substance painter, it wasn't a good idea, in fact, it was quite messy and doesn't benefit the texture for the model in regard to a clean and neat texture. So, I went back to Autodesk Maya, assigned new materials for a few parts of the X Wing.
1st picture is where I started assigning the materials

From there, this was where I added more materials.

After assigning new materials, I exported the X Wing model again. As I went onto Substance Painter, I tested out multiple materials, brushes and strokes with my X Wing.
Here's the X Wing Texture I produced on my first try:

The issues I saw within my X Wing texture is that the pilot window didn't exactly look like a glass material and there wasn't enough dirt or rust to give it a frequently used feel. Unfortunately on my end at the time, I couldn't remember my username and password for Substance Share. I even looked onto my OneNotes to see if it was there and it didn't occur.
Once the texturing was done, we had to upload the model to Sketchfab. We needed to create an account for Sketchfab in order to upload our models. I signed up for one and now all I have to do is finish off my texture models and get the glass material onto the materials. Once that was downloaded, I imported my glass material (recognized as a smart material) from there, I implemented the glass material onto my 'X Wing Pilot Window' layer.
As I was giving my finishing touches to the X Wing model, I noticed that the dirty glass material I used included the reflection from the background of the environment.

Moving on, I managed to finish off my ship. Here's the screenshots of the finished product of my X Wing looks like:
Top down view:

Bottom view:

Rear view (left):

Rear view (right):

Back view:

Front view:

Overall, I enjoyed producing the ship but I will admit, it took much longer than I thought it would. Although next time, I should know what I'm doing.


Comments