Match Movements VFX Maya part 1: Set fittings, adding props to the scene and robot animations.
- Cade.M
- May 31, 2019
- 4 min read

Updated: Sep 6, 2019
After all the work was done on NukeX I opened up Maya, set a new project: "Match Move" and from there got the imports from my files which I imported the Geometry. Now when I opened the geometry I saw the little green points, they were very huge that I had to scale them down a lot. The quickest way of doing this was I selected all the locators (via the left hand side of the tab) and click and dragged to scale the locators. X, Y and Z scales are: .0025 were doing set fittings in Maya in order to match the workflow.
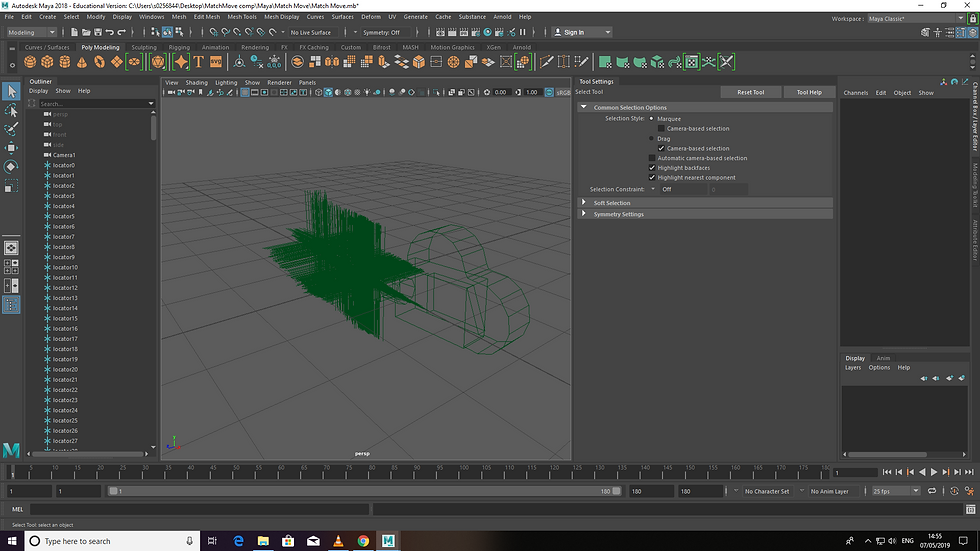
Once that was done I clicked onto the camera and in the channel box/layer editor, I locked the translate, rotate and scale positions. That way the camera wouldn't be tampered with. Thus the camera is grayed out.

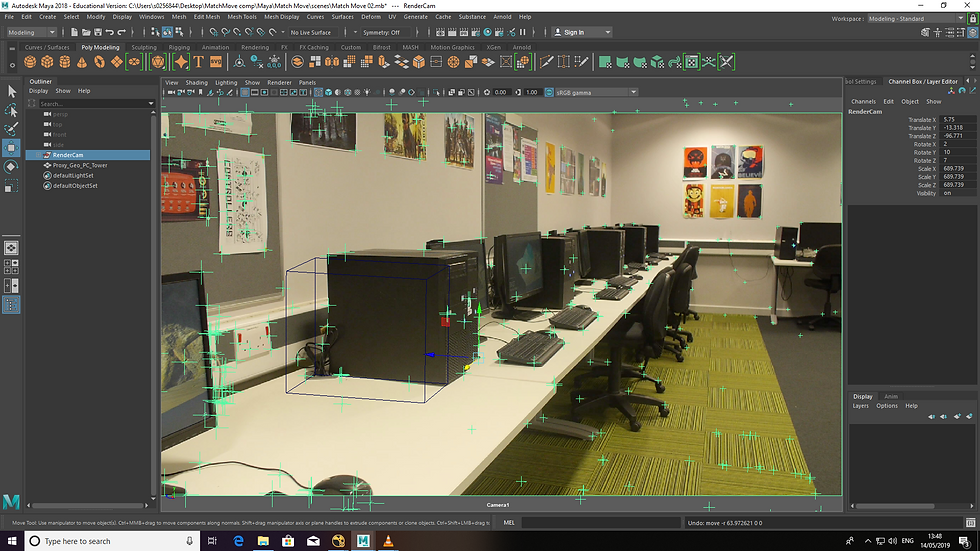
From there I went ahead and brought in my movie sequenece from NukeX. To do this go to: view > image plane > import movie. Then I found the file I needed in the file destination.

In camera view (on the top left screen of quad view) this is what the movie looked like aside from the grey box and field points. Well before we get into more of the maya process. I was going to write a very long and messy process but I'll keep things simple and definite. Let's just say we were provided with a match move that mostly solves out the camera plates and scaling. This was to maintain the workflow and camera.
Before I referenced my robot what I had to was save my robot as "Robot Rig Ref"
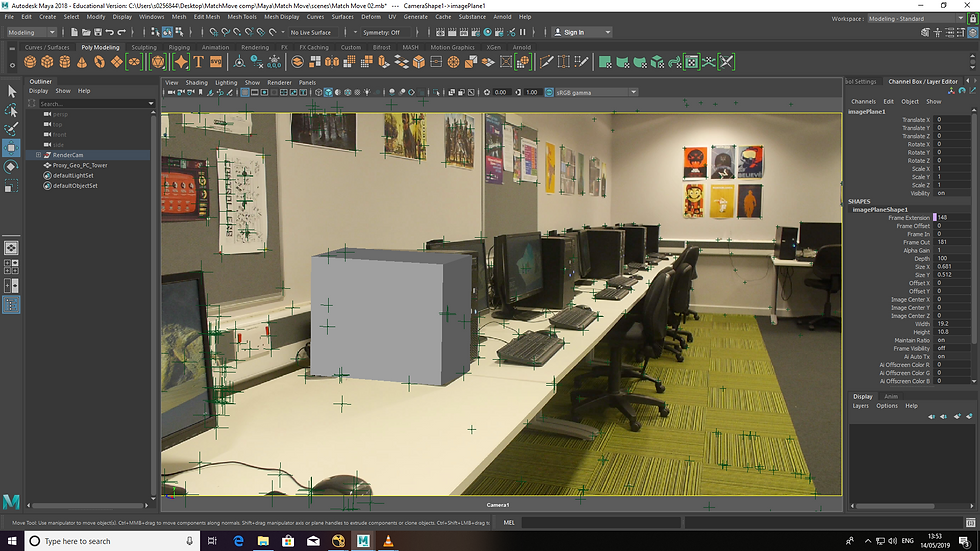
Originally we had to produce a PC tower as a cube although, Sam had created an accurate reference or (as I like to say) layout of the table and PC tower. The table and PC Tower geometry were provided on weblearn., Why he created the geometry because it was an accurate reference since the PC towers themselves we had produced weren't accurate enough as we wished it to be. With that being said, that's what we stuck to. In addition, we didn't have much time on our hands. What I had managed to do was find out where to activate the geometry on scene to the animation. Located in the lower right box. So I did the geometry and added the ground plane.
We also received the Monitor, Keyboard and Mouses which were provided on weblearn. When we got the files however, when I implemented the mouse and keyboard I noticed an issue occuring in the match movement. If my memory serves me right, it had something to do with textures and rigging. Because of this I talked to Sam when the files would be ready. It took a while but at least we got there. Meaning I left the keyboard, mouse and monitor file till they were fixed and sorted out. Hence why the I say the process was rather messy. So I waited for the 3D assets file. Anyways I took some screenshots on my monitor scaling and the placements didn't go according to plan nor did it hold up well in the process.

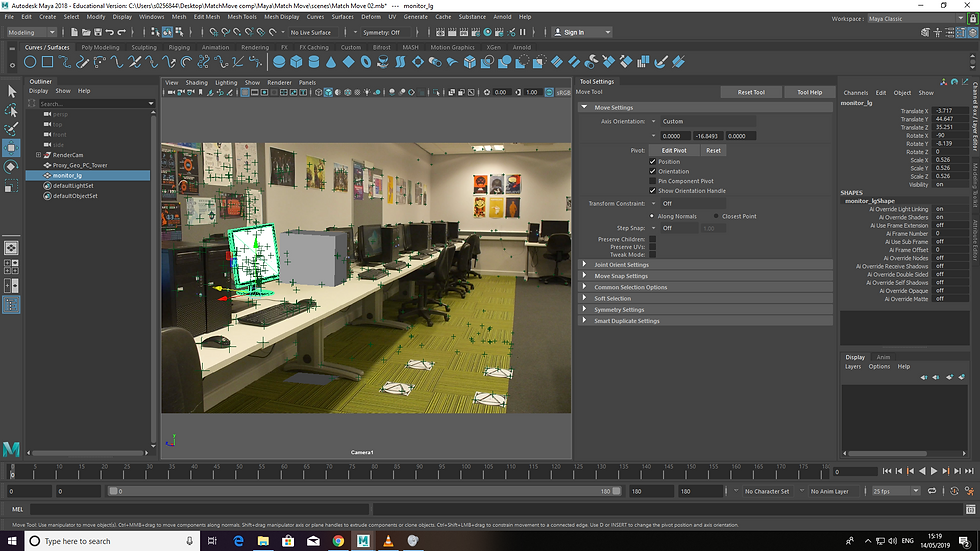

With the monitor and keyboard they didn't optimize nor fit well with the geometry and movie. Because of this the scaling was awful and that's when were provided with the fixed versions of the monitor, keyboard, mouse and match move geometry. After receiving the new match move files. I brought in my robot reference and worked on my animating. I used key poses on the first frame and worked my way up. The sequence goes like this: Robot aggressively reacts to the monitor having lost a game > slams their mouse on the table > lifts up the keyboard and smashes it against the monitor screen > pulls out of the table with the chair > gets up and moves away from the scene. I'll admit it's a lot of things going on for a 7 second sequence but I was thinking of the sequence as I was working on with my animation. And I suppose there's many many sequences going on for the animation in small amounts of time to begin with. It's basically the same as story boarding for a film or TV show. Here are some screenshots of my animation process. I didn't take many this time around as I was so busying on getting the animation only to forget (sometimes) to take screenshots.
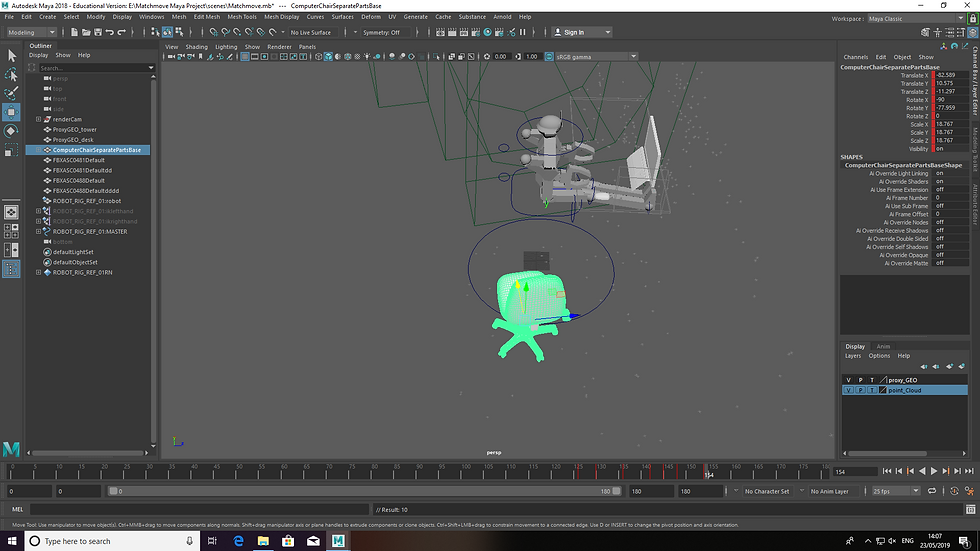
Some issue with the monitor but I combined them.

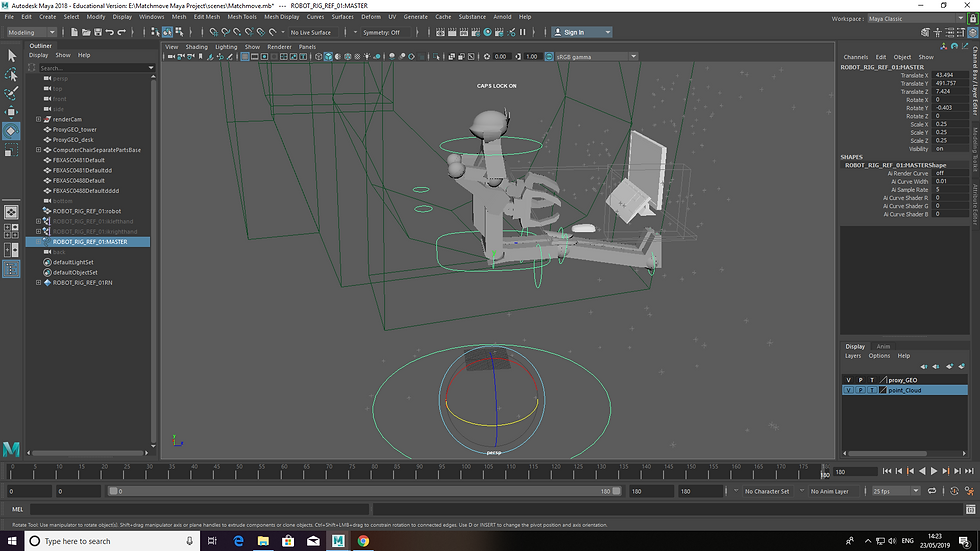
There was a small animation error with the left but I fixed it by descending the arm downward in a straight position.

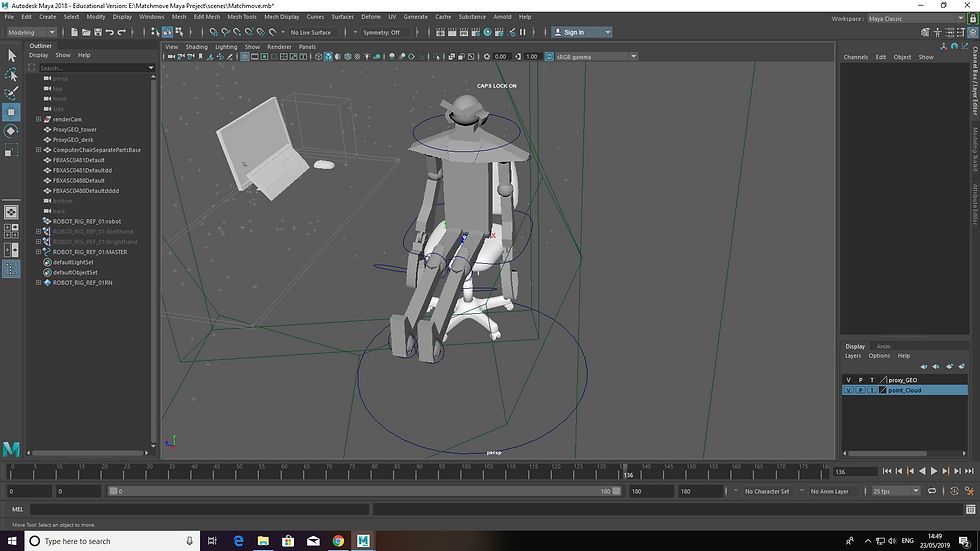
Now these next few images are supposed to get the robot to stand up from the chair. I had to create separate key poses for this one. I was provided some assitance from Luca or Sam with this.


After the robot stands it leaves off-screen for the last sequence.

Once all the tweaking, key posing and positions we're configured. I moved on with textures. With that being said, I will be going over the textures in my next blog: https://s0256844.wixsite.com/website/blog/match-movements-vfx-maya-part-2


Comments