Creative 3D Modelling: Robots
- Cade.M
- Apr 24, 2019
- 5 min read

Updated: Sep 6, 2019
We have a new project going on in our creative 3D Modelling lessons. The project is called: Robots.
Sam gave us a brief on the robots project and gave us a rundown on 6-7 week schedule process to create our own robot. Week 1: Character sheets and concept art. Week 2-4: Modelling the robot Week 5-6: Texturing Week 7: Rigging
One of the most useful methods Sam demonstrated to us was normal mapping. We're going to be using that element on the robots.
Character sheets
Week 1: During the first week, I created a graph-sheet of references (via photoshop) to inspire from particular designs and from there make it a loosely. From there, produced my character sheets and concept art. What I was going for was a Mecha (aka Giant Robot) in a human size. One thing I was concerned about was the real life scale to meet it at human size. Once my character sheets and concepts were done there was one problem I encountered. As I printed the character sheets and concepts I used my Email. By the time I got home however I wasn't able to access my email account. Implying that there was no access or that the email doesn't exist. Personally I found that weird so I had to wait until I got back.
Modelling
Week 2: I started working on my modelling for the robot in maya during the half term. I got somewhere with the robot design. Despite not having my character sheets and concept art from the robot. Therefore, I used my imagery. I will admit, I remembered the design of by heart so thankfully I had a good image and nailed it.
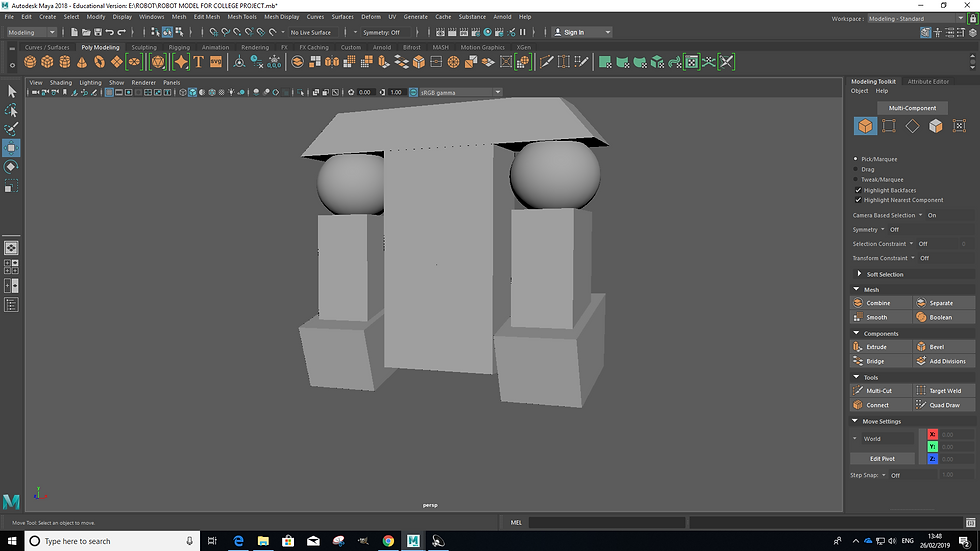
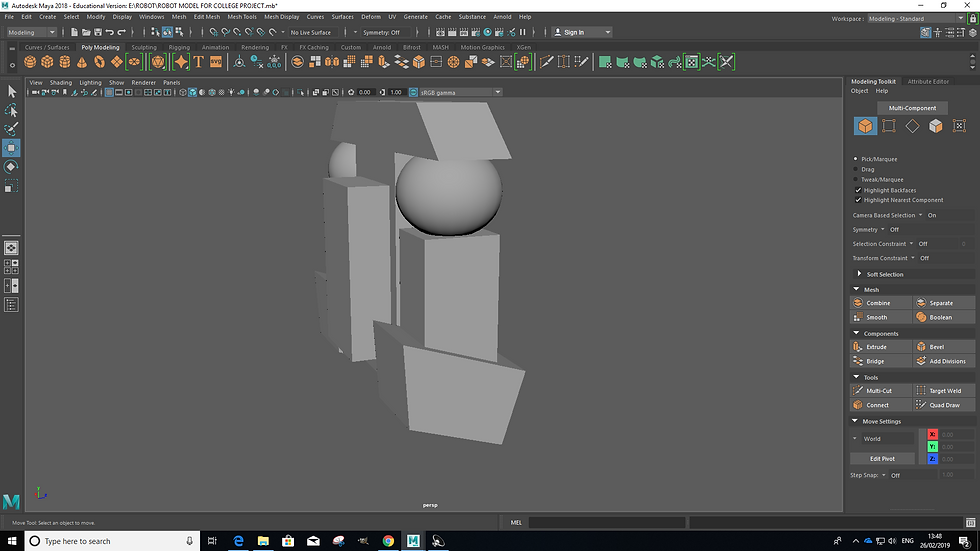


Week 3: When we returned from half term, the first thing I done was to scan and send my character sheets and concepts for the robot again by using the email I'd actually have access to. Once that was done I went onto my Outlook account and downloaded the files from there. Afterwards, I progressed with the design for my robot. Gave it some shapes. One of them being a rectangle which was for the shoulder and head joints for the robot. I added subdivisions, did some vertexing, resizing and extruding. What I had done to the top base was that resized it and extruded the robot. Week 4: Me and Sam had an overview of the robot I produced. A problem he noticed that the arms and hand were all in one part. I did some extruding from the arms to created the hands and that wasn't a good idea. We also had look at the joints and bolts to produce onto the robot models. In a way, it's supposed to make things look realistic in tha apporach.
Texturing
Week 5: I finalised my robot modelling process on 11/03/2019. I fiddled around with the model a lot. Doing combining, separating and target welding. Once that was out of the way, I proceeded to start on the UV. As I was playing around with the UV maps at the start, I had minor issues with the UV. Thankfully, the Automatic mapping worked out (for the most part). I had make the rectangles and square checkers consistent. Especially on the back because it was very noticable.
Week 6: I was somewhat naive on the robot texturing. Assuming it all looked finished but it wasn't. So, what I did was I fiddled around with the robot texture specifically the legs and the back. I tried my best to match them about right. Whether it was rectangle or square. After doing some fiddling, I moved the body parts in UV editor into their perspective places. However, this process would've been incredibly long so I asked Sam on what he thought of the UV-ing process. I wanted to lay the body parts all laid out on the UV map so it's all clear and I know what I'll be doing with each body part when texturing in substance painter. Sam had to go and look at other student's progress on the robots so he said to think about the materials I'll be using on maya. I created a word document and made a shape on Maya. From there, I did the FBX export on export selection. Once I it was exported I went onto Substance Painter and opened my new exported files.
After going through the troubles of the UV layouts and texturing, I laid the UV maps for each part properly and clear to my standards. Once that was done, I assigned a new layer > blinn. I double checked it.

HOWEVER, once I overheard from one of the year 2 students that the UV mapping had to be all in on square. I realized how naive I was. And it became a simple and better process.
Leigh helped me out with the UV mapping. The recommended method was to drag onto the robot and then do: Modify > Layout (via check box). Here is the UV layout options for my Robot:

Now, I had a really complex layout for the robot that I produced. We saw an issue with the two polygons touching the interior sides. We found out that it was the torso.
One thing I was told was to never try and run the models on external hard drives for UV layouts and mathematics. Honestly, when I looked at my UV layout, it seemed too much and over the top for UV mapping standards. Despite the really complex layout on my robot, I decided to work with it. Due to the little time and knowledge I posses.
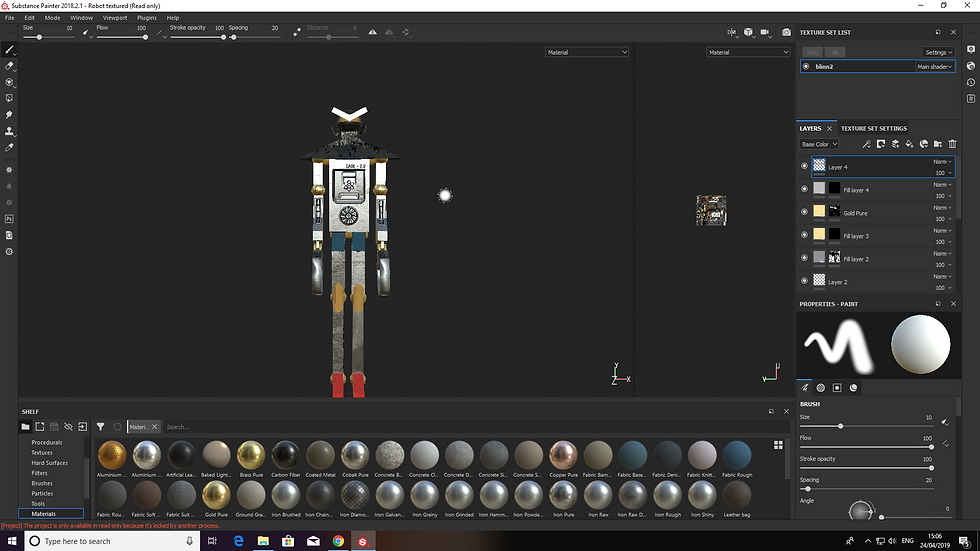
I went onto substance painter, added layer masks and filled in the certain body parts for each filled layer I created. Luca helped me out by filling in multiple layers with layer masks.
On the 26/03/19, I had to go to the games hub in order to get my original save for the robot texture. From there, I started to free hand paint the robot, added some tools by creating more detail for the robot as much as I could. I decided to add some detail for the hand and thighs of the robot. One thing I had noticed was that I was using this melted type of paint. I think I was using the plastic PVC rather than the SciFi PVC plastic to paint the robots thigh part.
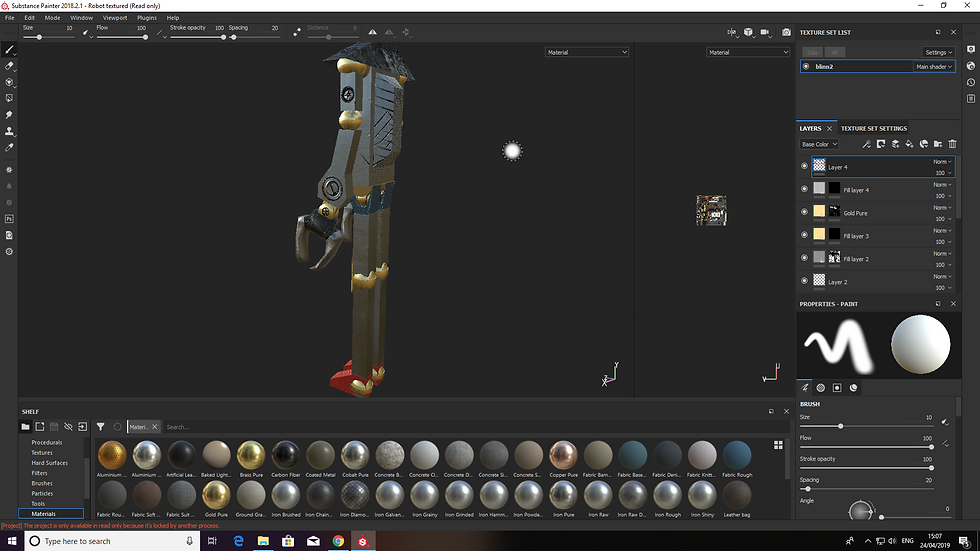
On 27/03/19 I used Substance Painter for texturing and from there proceeded to add more detail by adding normal maps and free hand detail on legs, hands and thighs of the robot. I liked the way it looked and I named my model.
Once that was done, I completed my details and texture for the robot and from there saved it. Afterwards, I compressed my files for the robot model.
Here's a look at the final version of the robot model:


Comments