Match Movements VFX Maya part 2
- Cade.M
- Jun 3, 2019
- 4 min read

Updated: Sep 6, 2019
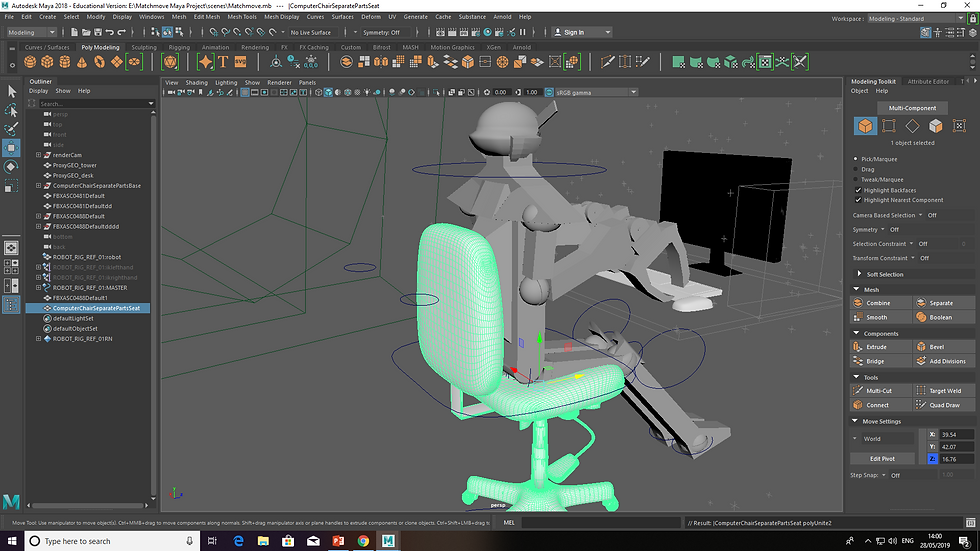
Having finished our animations in maya. We added textures to our robots, monitors, keyboards and mouses. Then after the process we had to add lighting and composition to the match movements.
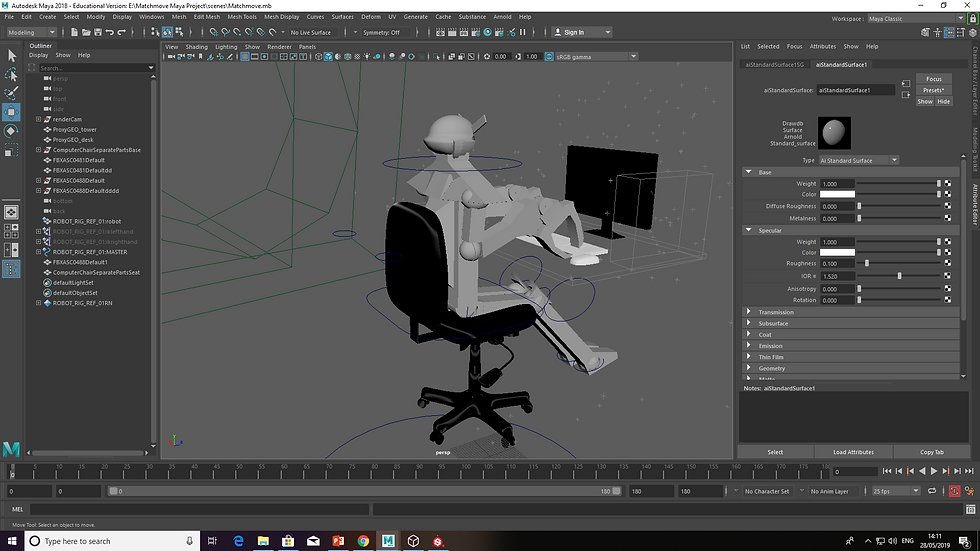
Before we get into the texture part of the blog. I tried implementing in the textures myself by doing: create new material > arnold > aiStandardSurface. Now the only difference I saw was that they all turned from grey to black.


Unfortunately I wasn't seeing major differences so I asked Sam about it and he mentioned that there was a really good video to watch on YouTube to follow through. Here's the link for the video: https://www.youtube.com/watch?v=fDQfaslgWn0
So as I was following through the video. I added 4 textures. Base Color, Metallic, Roughness and Normal. Now I implemented theses textured into different files. Now there was a massive issue with the textures for the robot. Some of the textures were out of placed and seemed to be missing another important texture of the robot itself. Because of this the UV's were different. Meaning that there were 2 different robot files used in the process

.
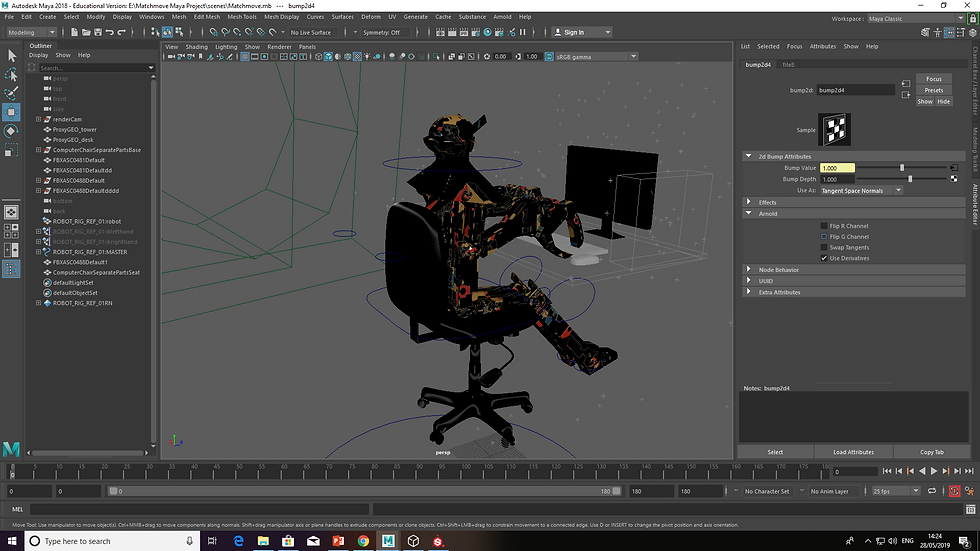
Now these texture will look rather odd or all over the place but this was my attempt with the non fixed version. Why I say it's non fixed is because I was using a different file that had different UVs and no textures for it. With that being said however, this will show off a demonstration for the robot texturing


This is where I turned my geometry on

Followed through the video and turned visibility settings off:

Producing a ground plane for the on scenes

Appropriately placing the ground plane on to the scene by extending the planes

Extension in perspective mode:

Assigning a new material

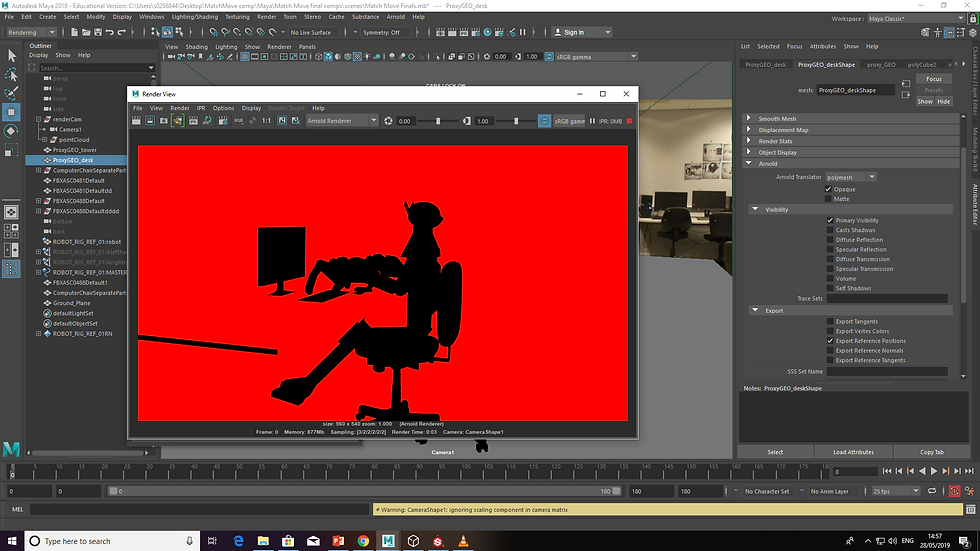
Render view in IPR. I noticed that the table itself was missing.
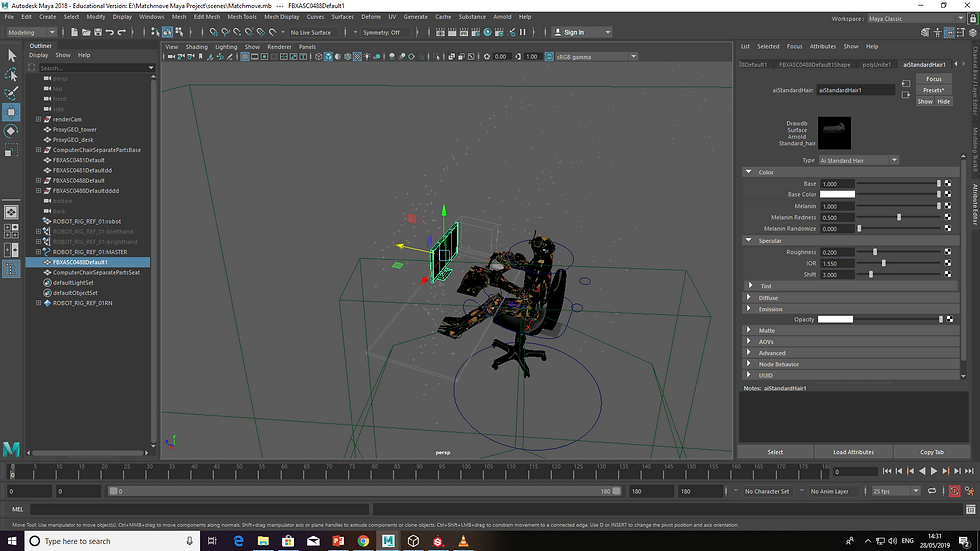
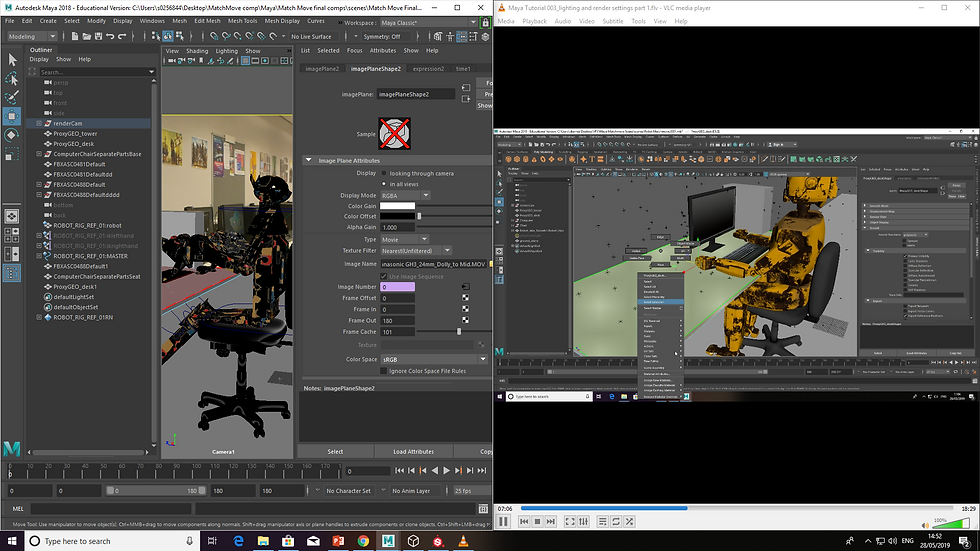
This was where I got up to and Luca helped me in fixing my UV and textures for the robot. I got sent an email for the fixed version. Luca advised me to save the fixed version into another folder rather than the older robot rig referenced version in the same folder destination. So after I had opened my file. I replaced the reference of my older robot rigged reference to the fixed robot rig. From there I went onto the rendering phase to check my scene render and robot textures. I did rendering mode and then IPR. When the scene itself was black I got the HDRI from Weblearn and implemented that on the skydomelight.
I changed back to camera view (via quad view). I had to be careful so I turned on the film gate and resolution gate for the camera view. The resolution: 960 x 540. I got my IPR render window up. Thankfully nothing crazy happened. As I was watching Sam's video he had something crazy going on with his. The next thing we had to do was get rid of the sky dome background. In effect this would change the cameras visibility. The cameras visibility had to be at 0 so it wouldn't interfere with the render.
From there I checked my arnold render settings to see if the image format was on tif, the appropriate camera. The camera resolution will get changed to HD_1080.
So on the render settings I went to arnold renderer and in the IPR render tab I changed the display settings from all channels > alpha channel. When I viewed the render alpha display the textures were rather noisy so what I had to was change the camera from 3 to 5. This in effect will refresh the render itself. It's adviseable to do a test render before you get into the rendered process.
Went back to render settings and changed the frame/animation ext to name_#.ext and frame padding to 5. Afterwards I changed back to rendering mode. In the render tab I clicked onto render sequence (via the box). The current camera was changed to camera 3 and I rendered the sequence. Now this would take a while to render everything it needs to render and function in itself. So what I did was I left my USB in the college overnight. Had my work been placed onto the PC's hard drive rather than the USB itself, I wouldn't have had to leave my USB overnight. I did get concerned if there were people going to be in the room I worked my rendering from. So I ended leaving a rather nice note to notify people if they see my USB, it was to be placed in the office. The next day when I came back in everything was untouched which I was glad.
During that day I looked at all my image files and every frame was in the files itself. So I previewed all of my frames by pressing the '>' key. When previewing there was one noticeable issue that slid right past me with the animation. It was these frames.
Be aware there are going to be plenty of images because each image is represented as a frame.


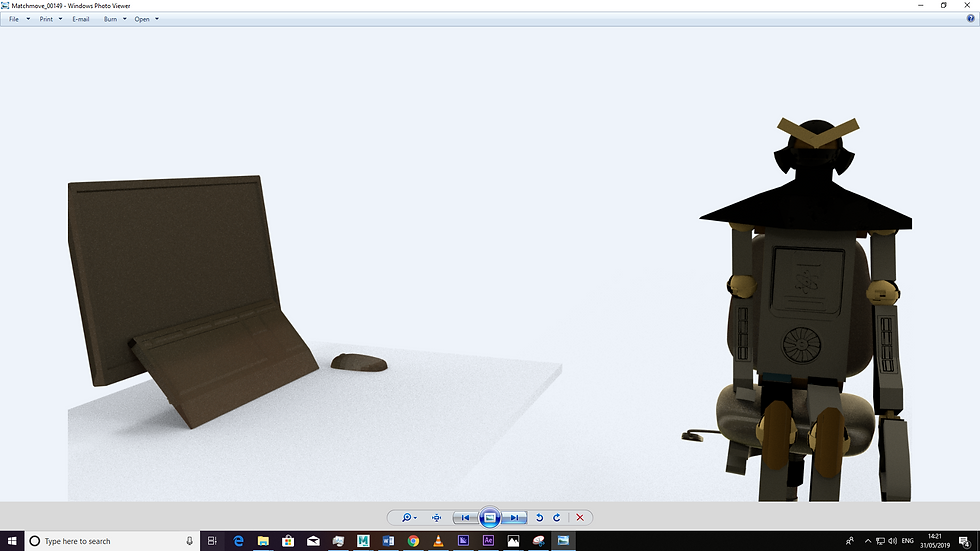


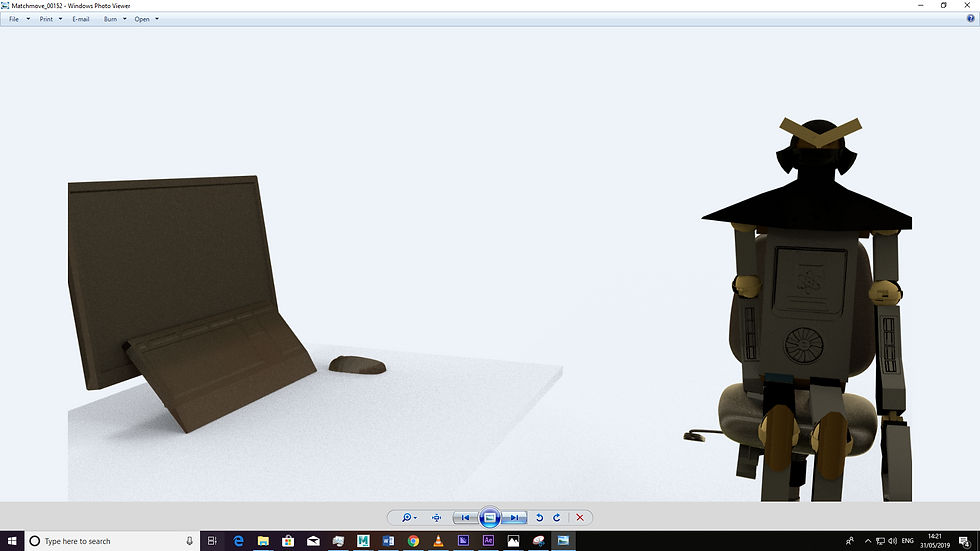

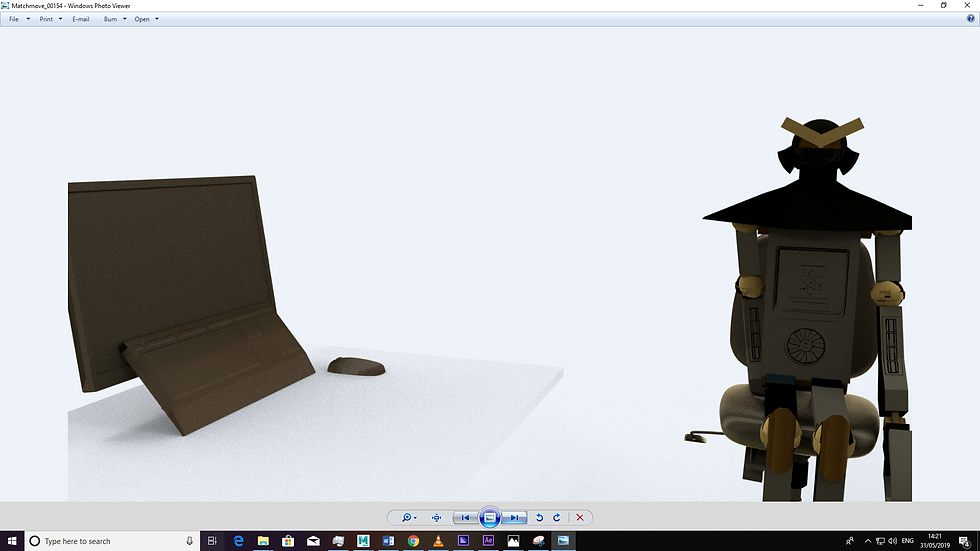


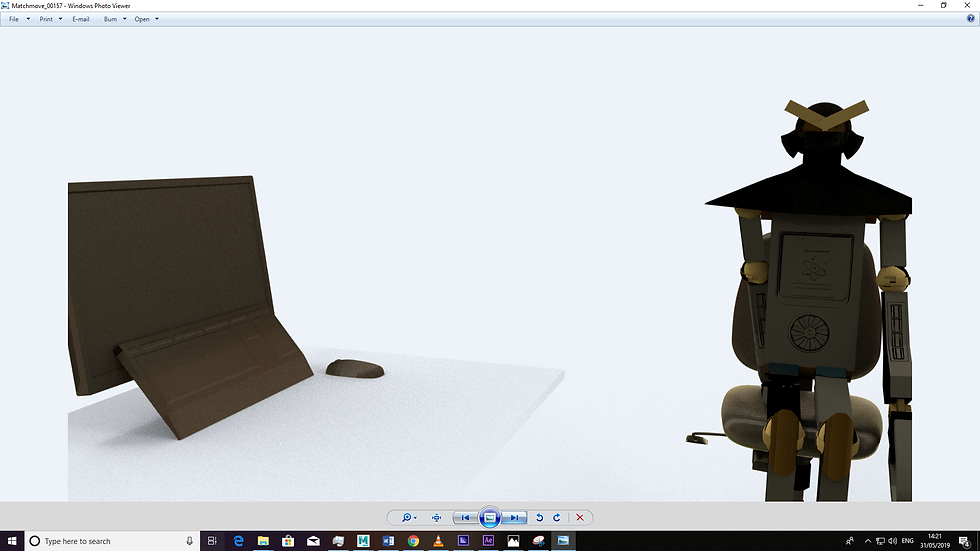


The right arm itself bends inward and inside of the chair. Honestly this seems to be a small animation fault to me. And the personally, the monitors glossy screen doesn't seem to be there. Overall, it was a big process and managed to finish the animation phase. It was fun, had it's ups and down but all that matters is that I got there in the end. In the next blog I will be going through the final phase of animation: composition and rendering: https://s0256844.wixsite.com/website/post/match-movement-composition-and-render


Comments