Car Model line art in Illustrator
- Cade.M
- Nov 25, 2019
- 2 min read

Updated: May 25, 2020
During 15/11/2019, in our tutorial session we're introduced to a new software I had personally never used before called Illustrator. What Leigh wanted us to do was to start on our line art for the car models. As a whole the class started on one of the side views of the car itself.
To get ourselves started on the line art. We would create separate layers for the use of each piece of line art itself. Regarding the layers I came up with the background layer, outline, decals, inside layer, and compound.
I placed the "car model right view" image appropriately into the composition itself. I went with A3 Print landscape orientation. After placing the image I would proceed to create the layers I mentioned in my last paragraph and produce line art on the car itself. To produce the line art, I used the pen tool to create anchors and paths. I would create the outline of the car model with the tools itself.


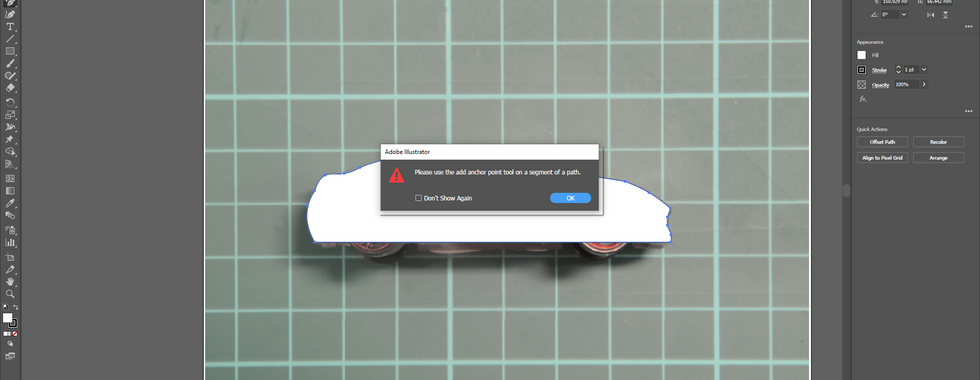


To add more detail to the outline I created a circle and from there used the shape builder tool. This helps in creating the shapes for another shape or deleting portions of the shape itself. Alt + Click gives you the delete. In my case, I deleted the wheel portions of the car itself as the wheel and rim details would be added later on.
The next thing I did was to delete the window portions from the outline creating another shape with the pen tool and from there used the shape builder tool. Useful methods when adapting the shapes you create.


Once the outlining was done I would move on to the inside layers for more details of the lines to create detail and then the decals for itself. Decals would be for the use of color for the car details for itself which will be mentioned later on in the blog.


From this point onward, I'll be adding inside layer details, decals, and color.


I will admit, when creating my inside details for the line art there we're parts where things got finicky. I.e the car wheels fill color would be all covered in black rather than small variant parts of detail. To be honest, they were easily fixed for what they are. Once inside details we're done, I would go onto decals and create line art and fills for each decal to replicate the reference from the model itself.
I would've gone for different variations of colors however, I wanted to stick to the original to replicate the car model. Overall, that was my main goal to aim for.
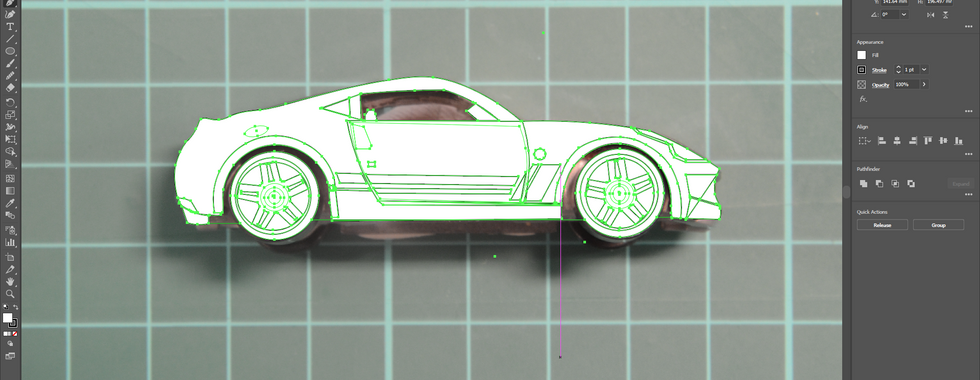
Here is the final piece of line art:


Comments